How To Add Presets To Lightroom Mobile – Without A Desktop
This is our tutorial which will show you how to add presets to your Lightroom mobile app. Our easy to follow step by step guide will have your new presets installed in no time.
If you are trying to add presets to a desktop version of Lightroom, then you will need to check out our desktop guide here.
Before you install the presets you will need the following free apps
Lightroom mobile App
Izip App
Some new mobile phones can automatically unzip ZIP files. We have the iPhone 11 which has this feature. If you are not sure if your phone can do this, then you will need to download the free Izip app.
How To Add Presets To Lightroom Mobile
Most mobile presets will be in a DNG format, we have created ours in this way so you can directly download them to your phone without a desktop computer.
The presets will be in a Zip file. This is where the izip app is needed if your phone doesn’t have the unzip capability.
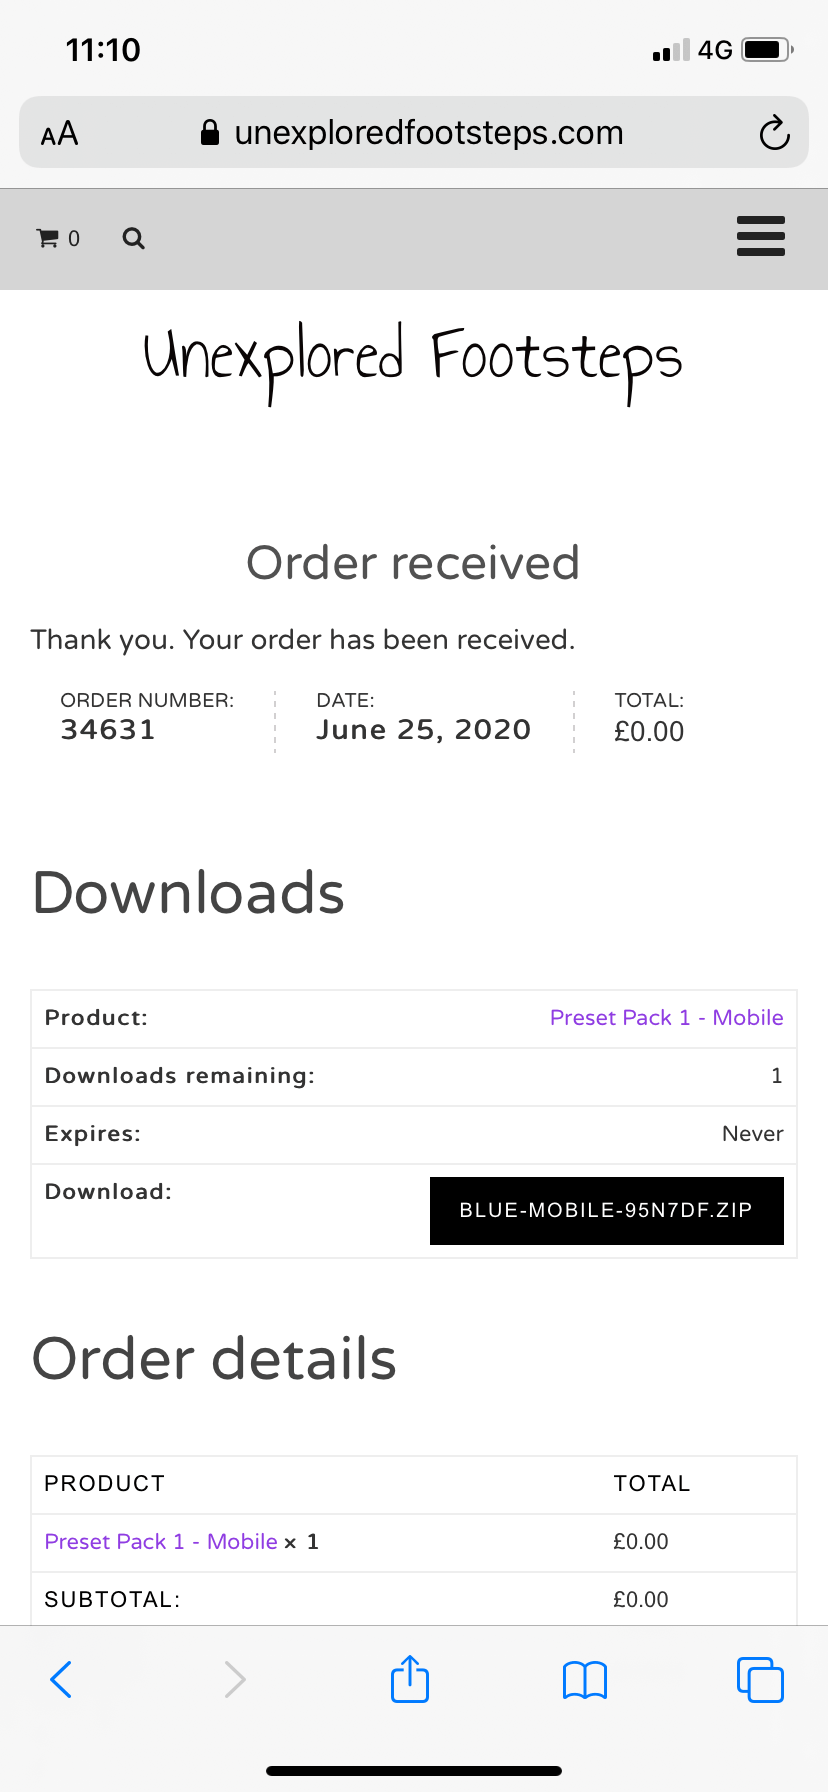
Option 1
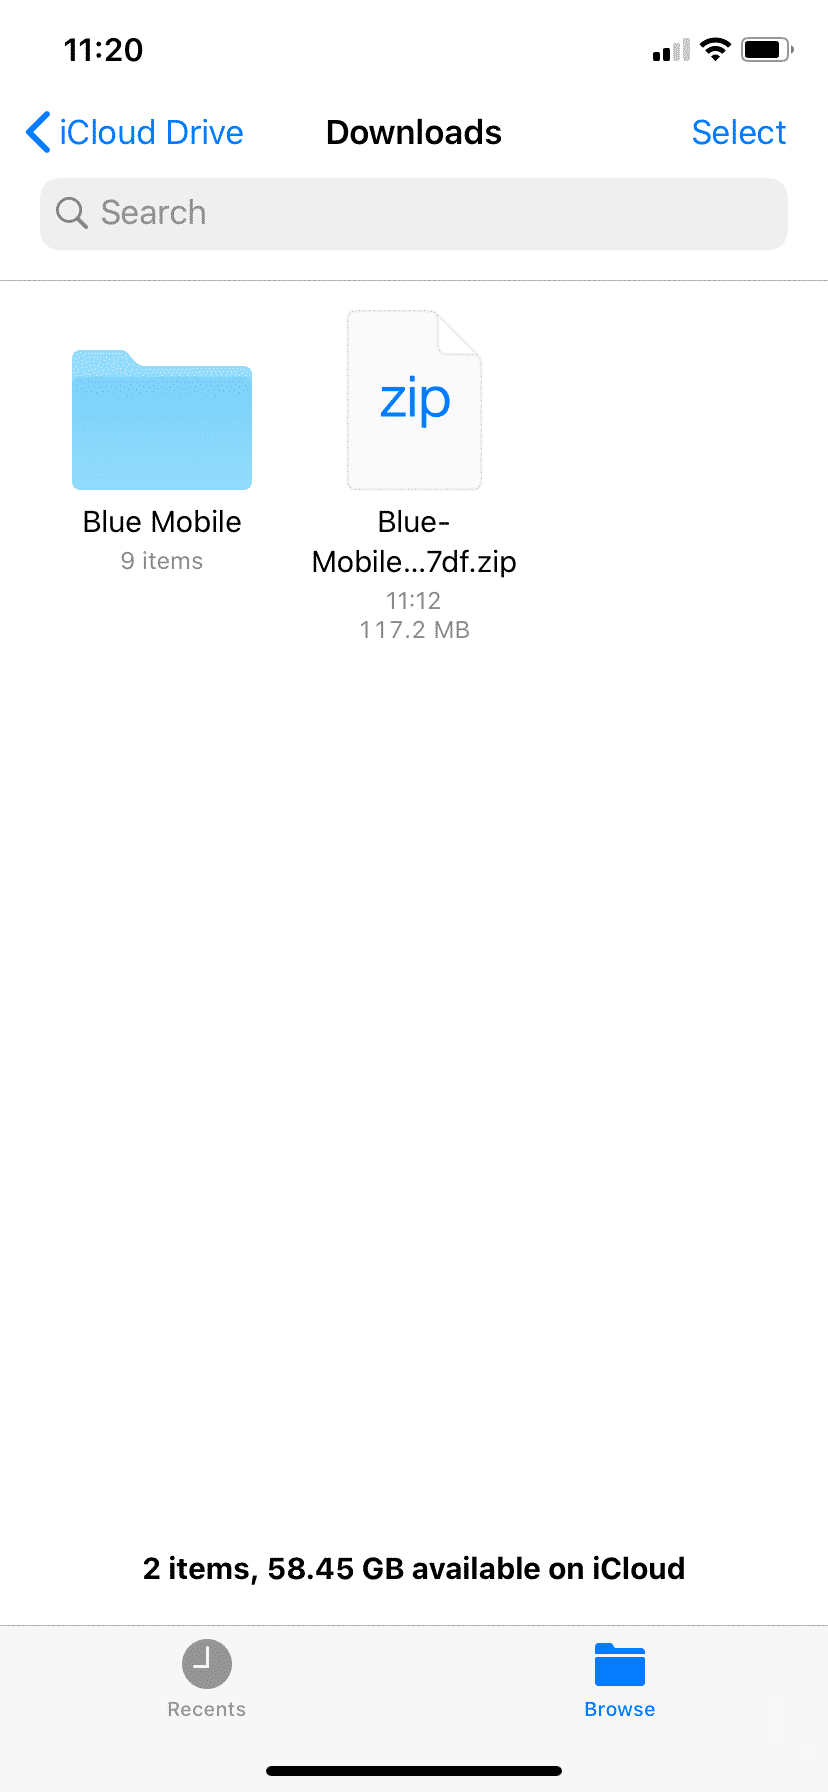
Once your order is complete you will see the black download button. When downloading the mobile presets without the izip app, the download file be stored in the file folder on your phone. From your file folder, you can click on the Zipped mobile preset folder and your phone will unzip it for you. Once this has been completed your ready to open the Lightroom app.
Skip option 2 and head to the Lightroom section.
Option 2
Once your order is complete you will see the black download button. When downloading the mobile presets with the izip app, the download file be stored within this app.
When clicking on the download button, you need to select the ‘open with the Izip‘ option.
Once the app has unzipped the file you are now ready to open Lightroom.
Adding Presets To The Free Lightroom App
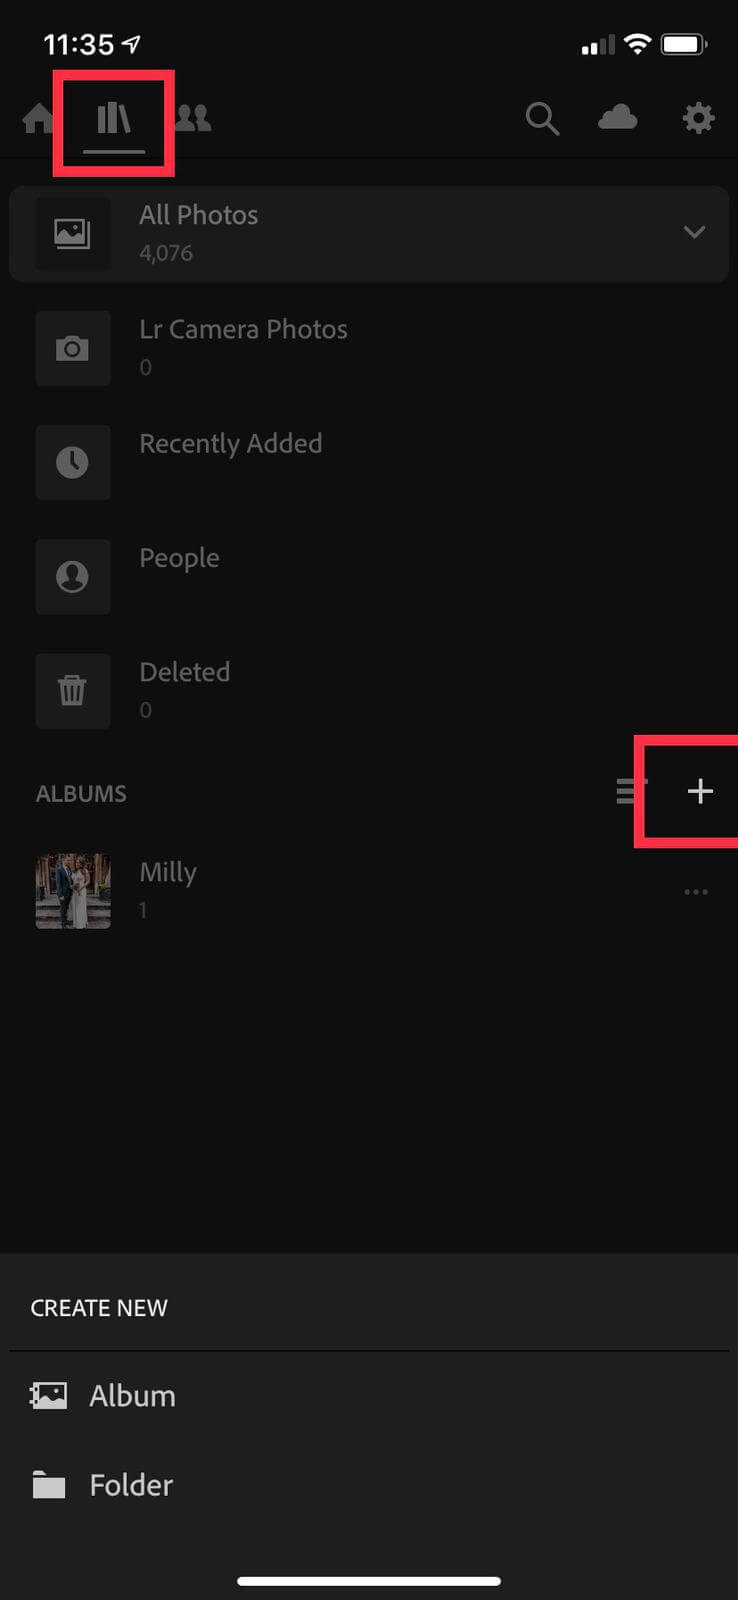
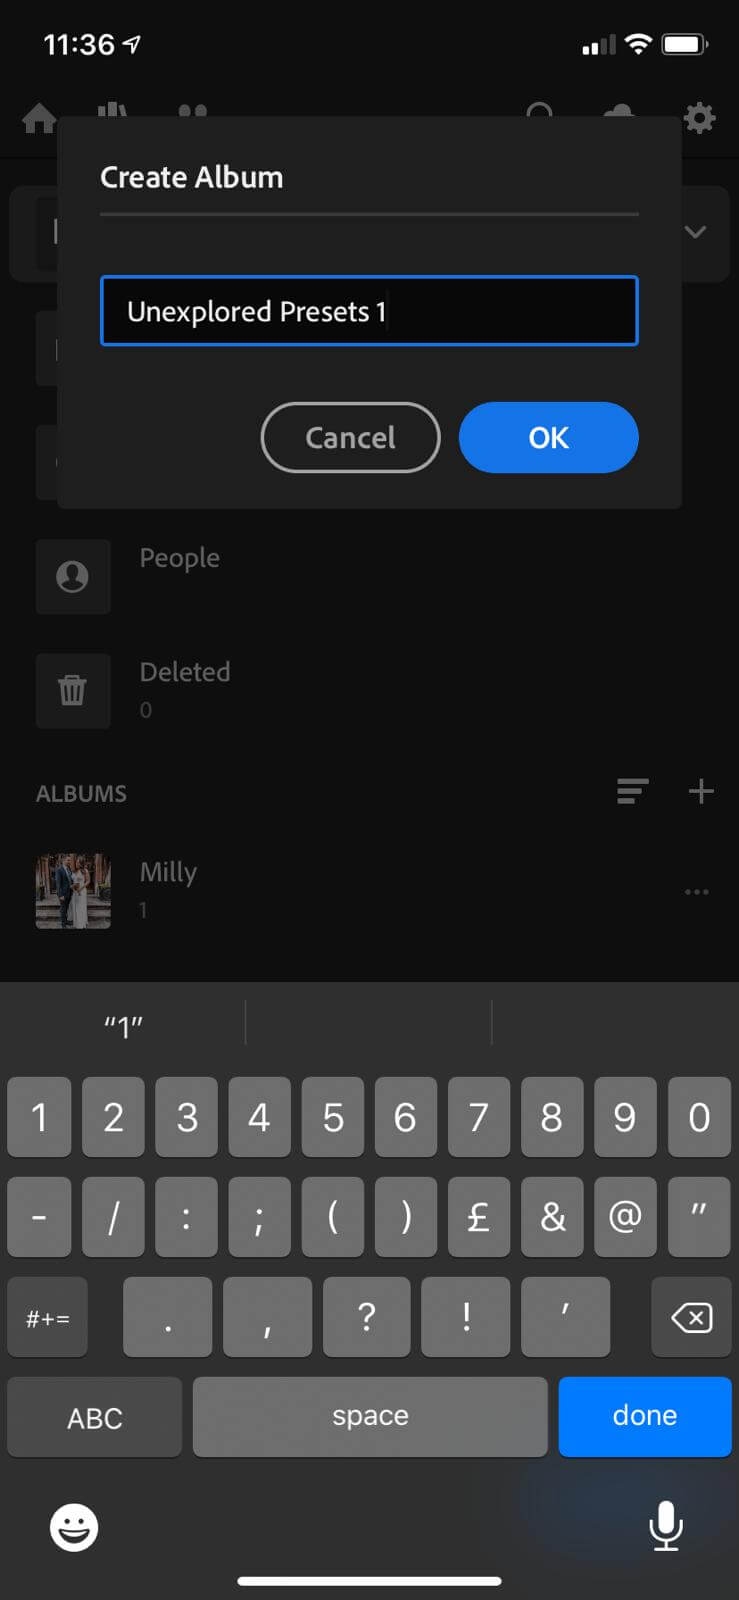
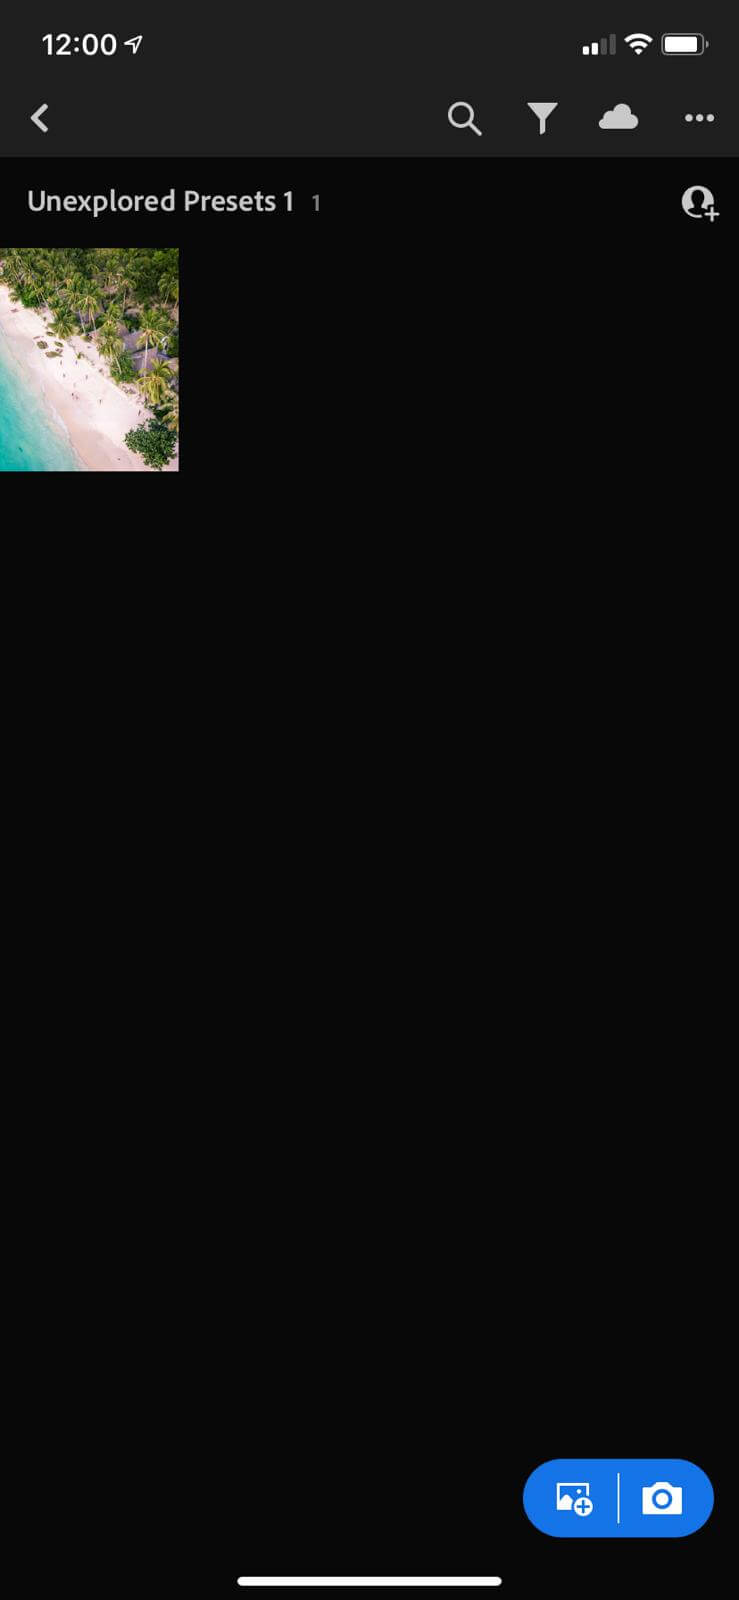
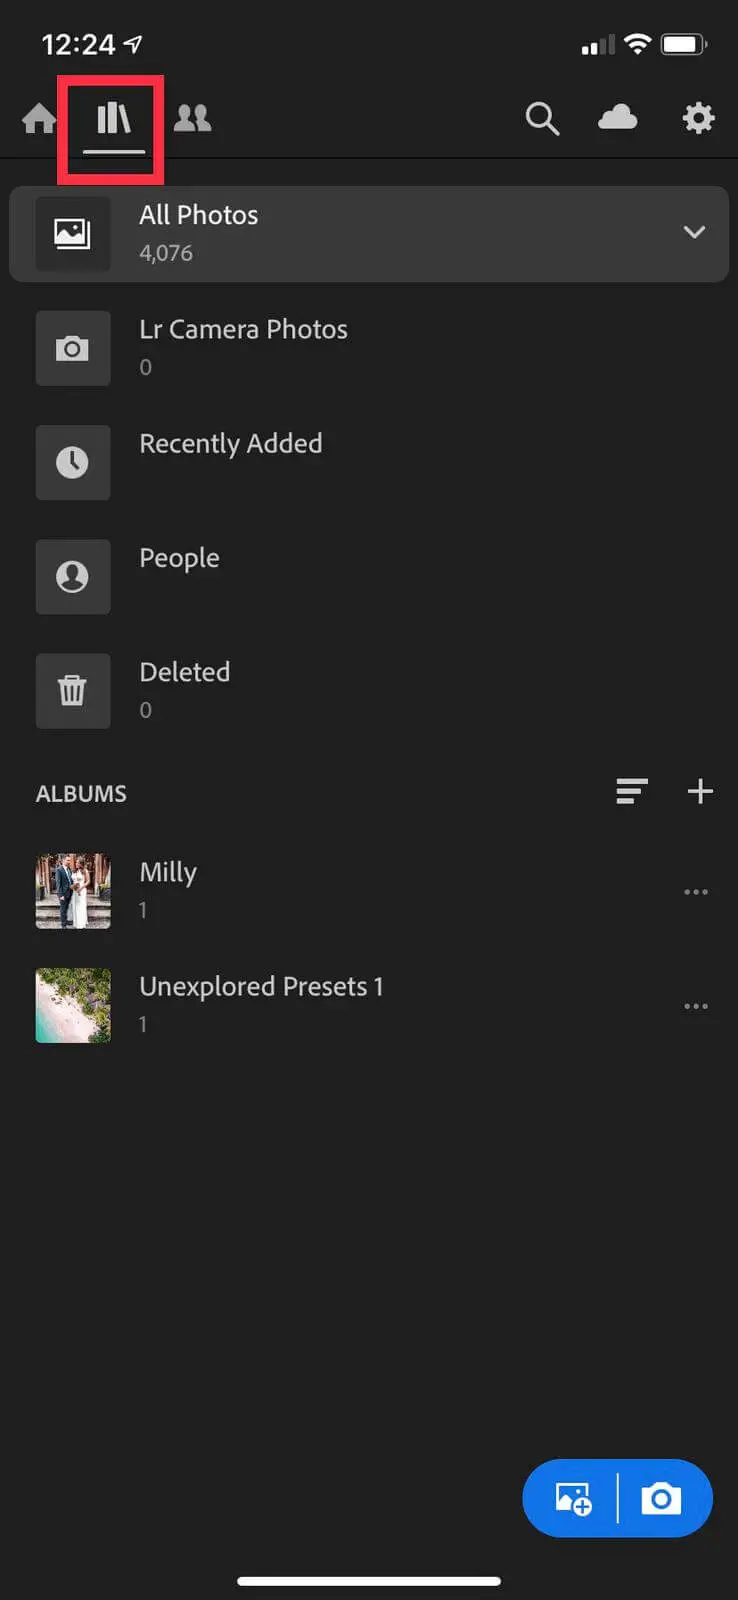
Now open up your Lightroom app and head to the library tab, highlighted bellow, you will need to create an album. To do this click on the “plus” symbol, it will ask you to type in a name for the album.
For this example, we call it “Unexplored Preset Pack 1″.
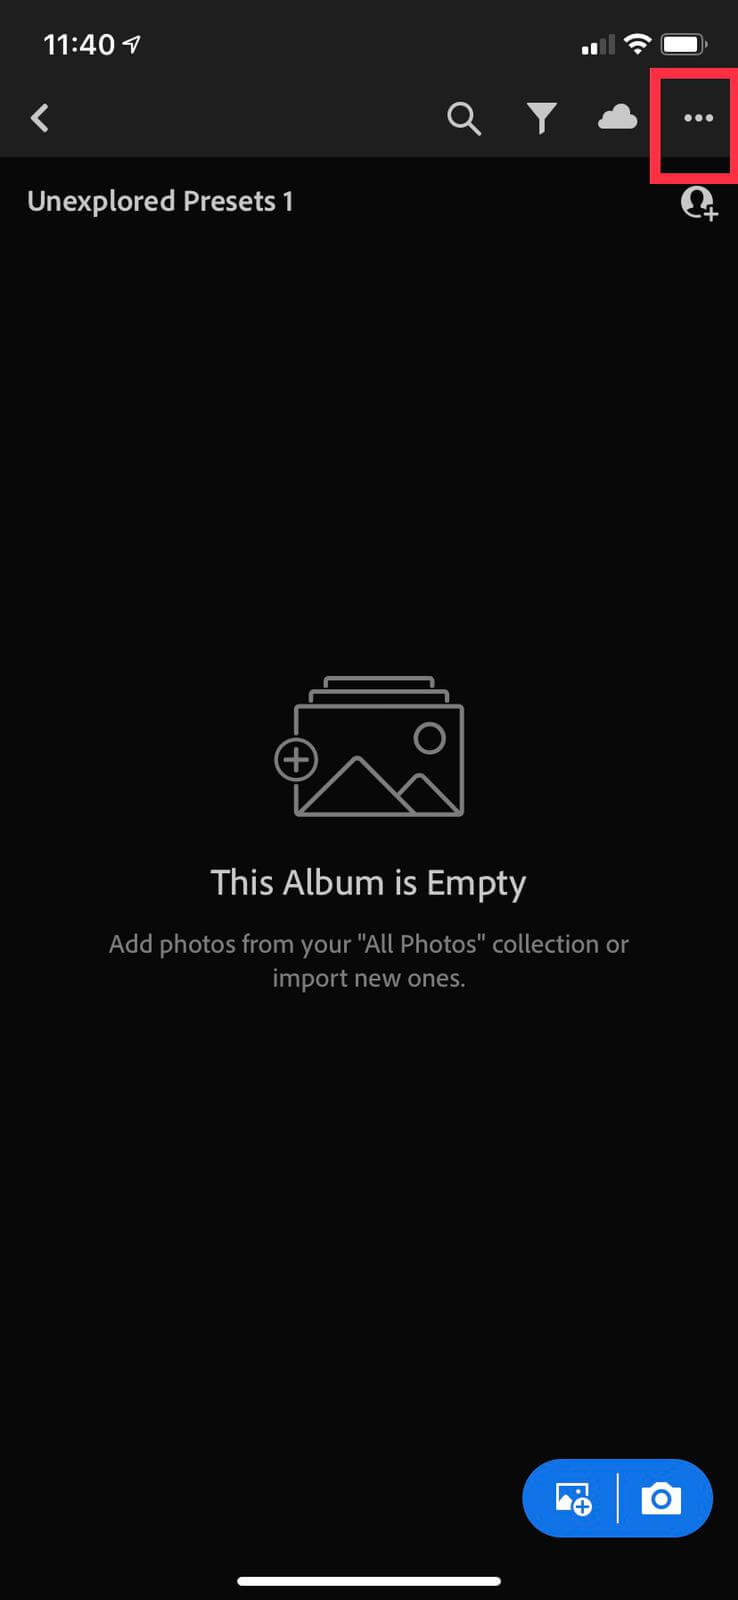
Now you need to click on the album to open it.
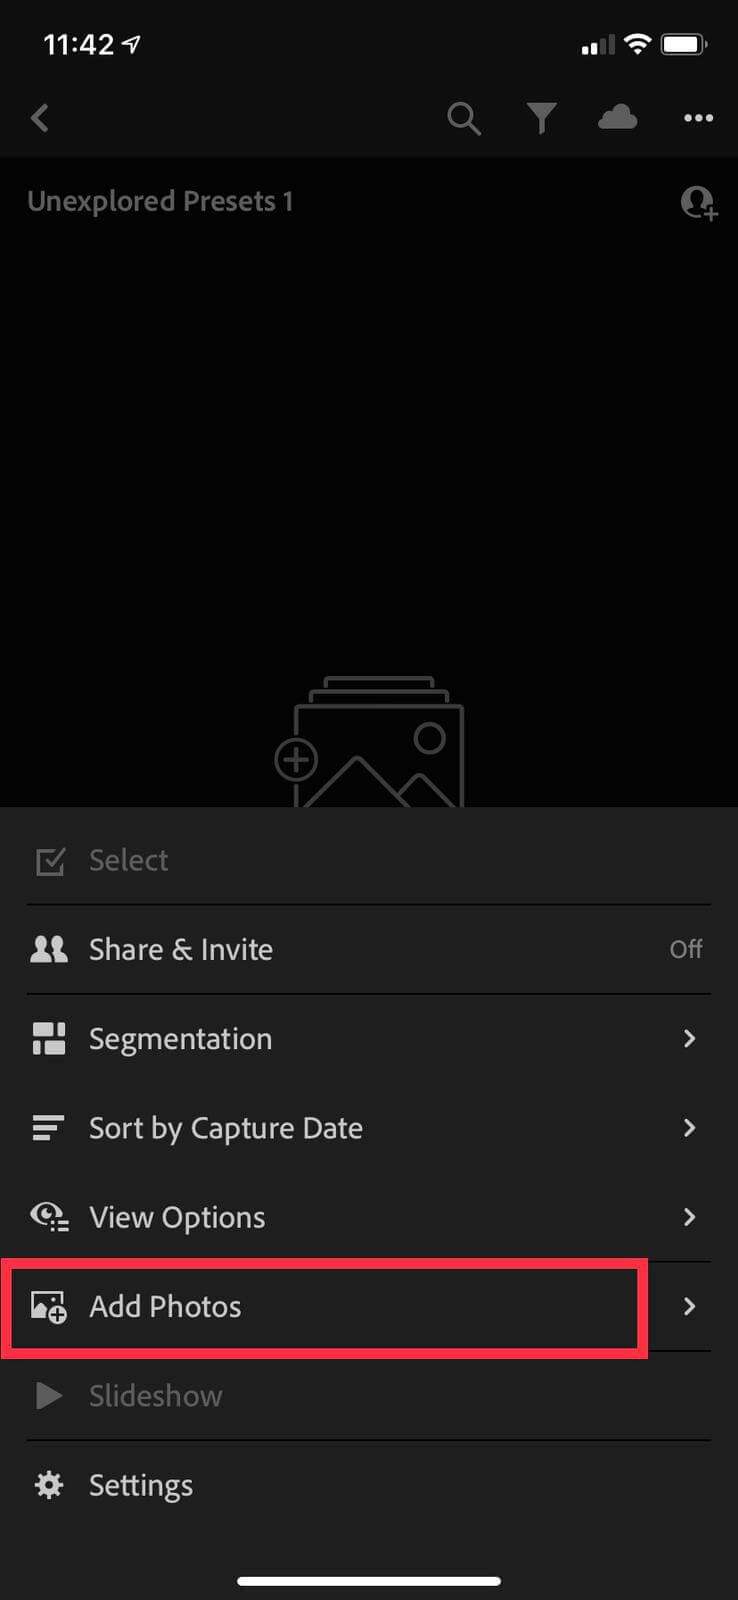
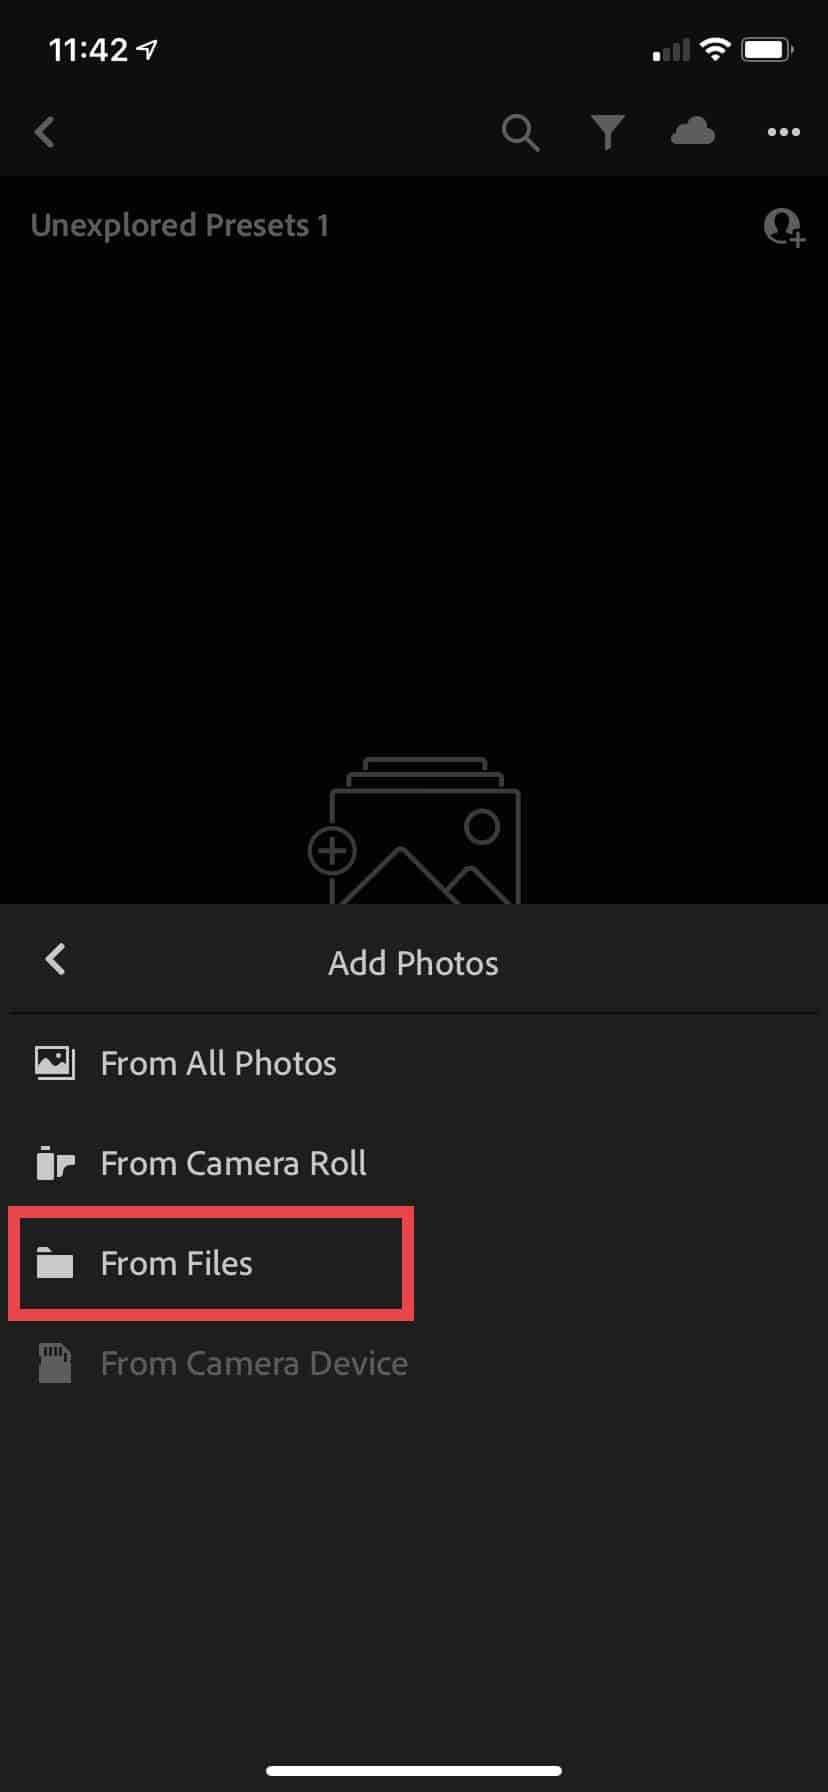
Select the three dots in the top right corner, this will open a menu then select the “add photos” option.
The Unexplored Presets are saved in your Files, so select the ‘from files’ option.
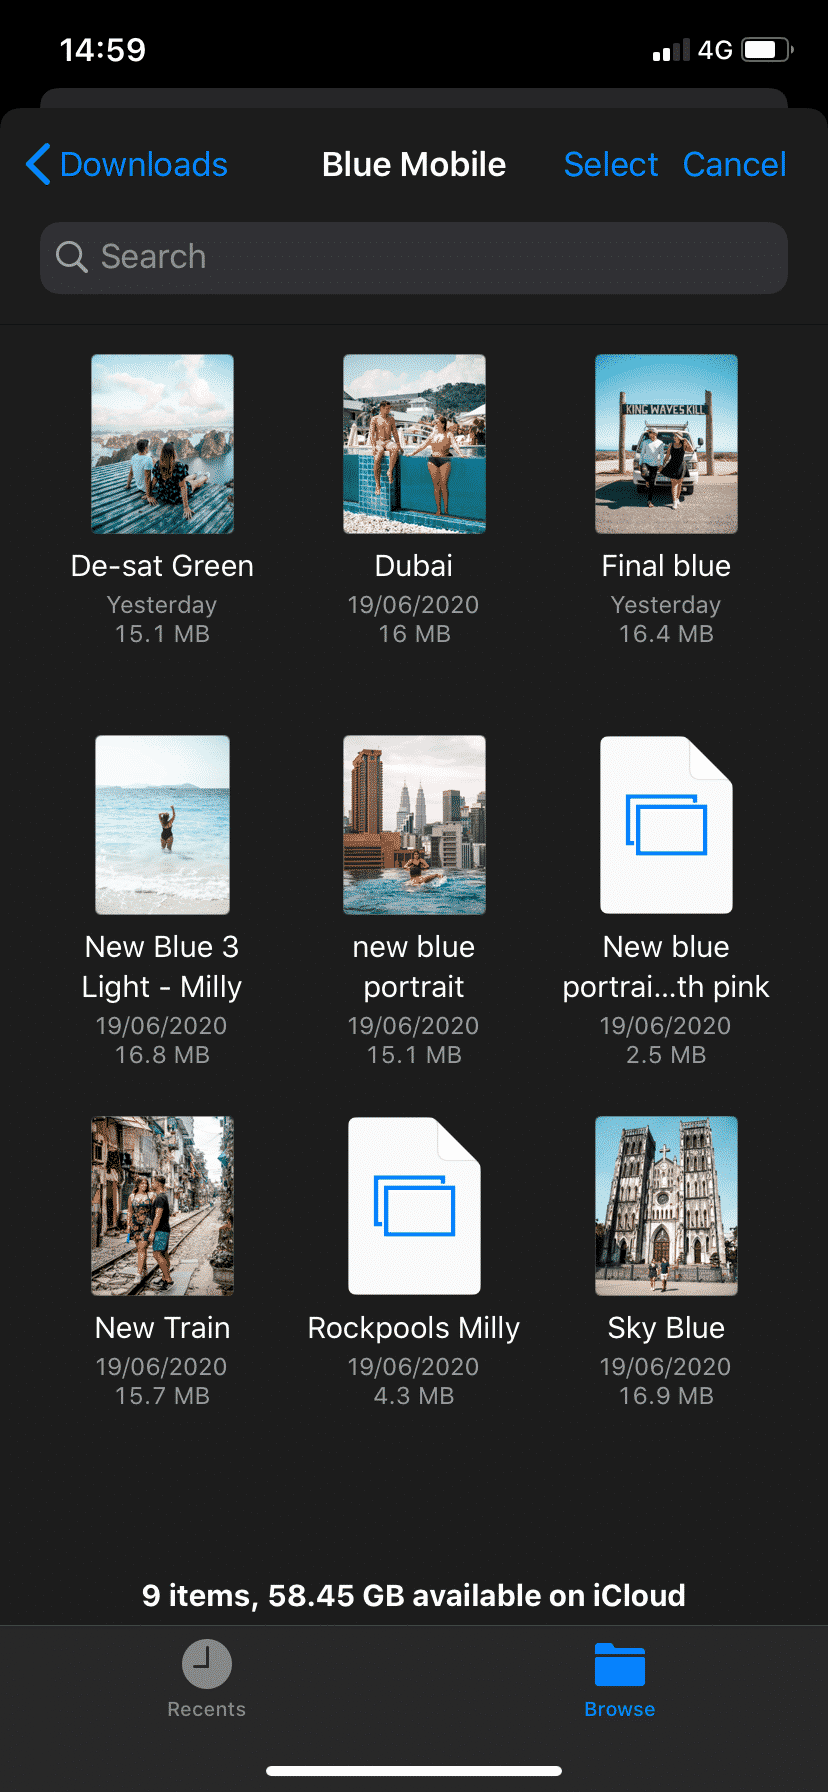
If you have used the izip to unzip the files. You will need to find the izip files and then the preset folder within them.
Select the DNG preset files from your Files and add photos
Saving And Naming The Presets
Now that your presets have been uploaded into Lightroom we need to save and rename each one.
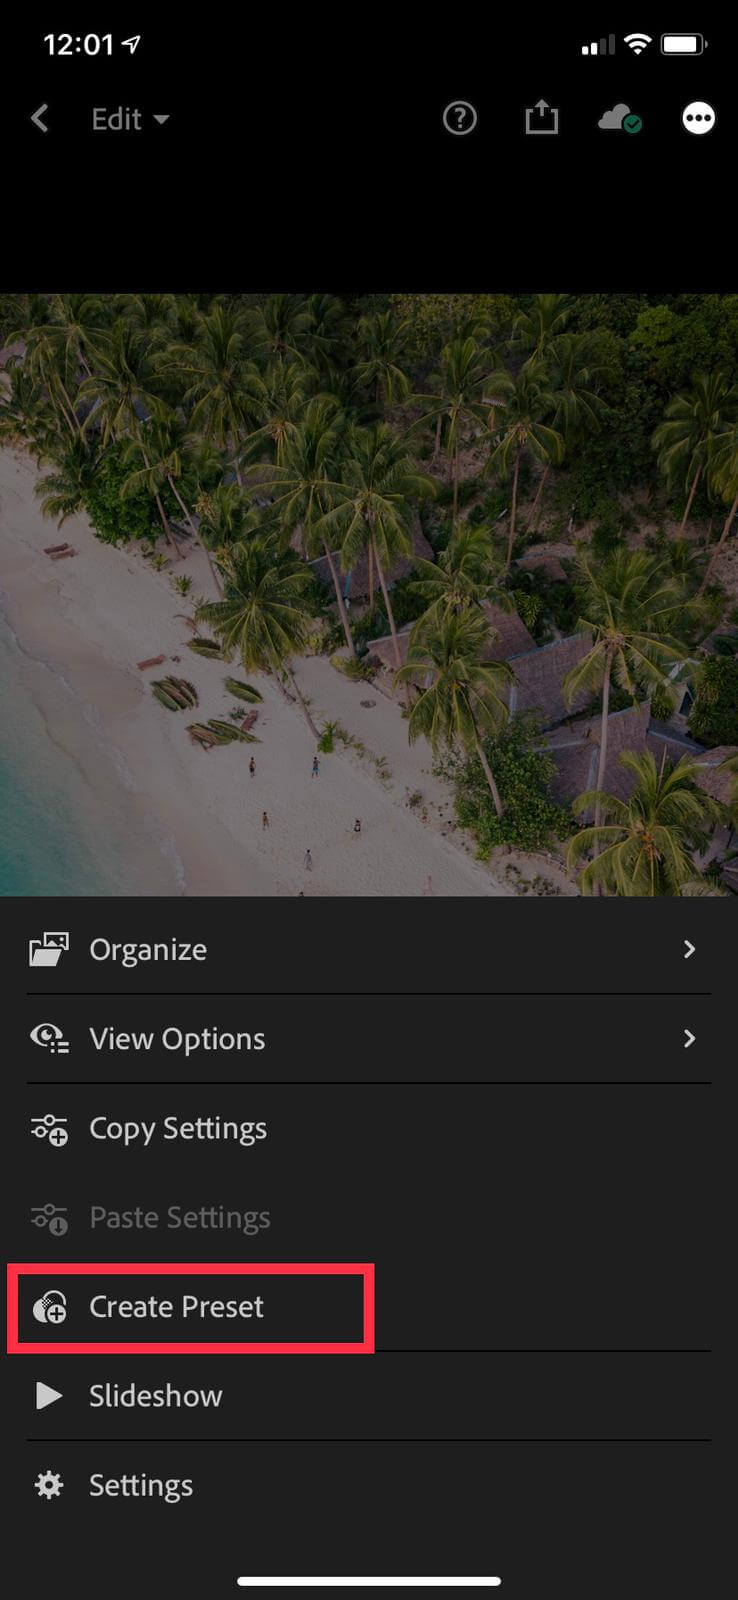
Select the first image in the album and click on the three dots in the top right of the screen. This will bring up a menu, select ‘create preset’.
You can now name each preset or you can keep the same names as the Unexplored collection.
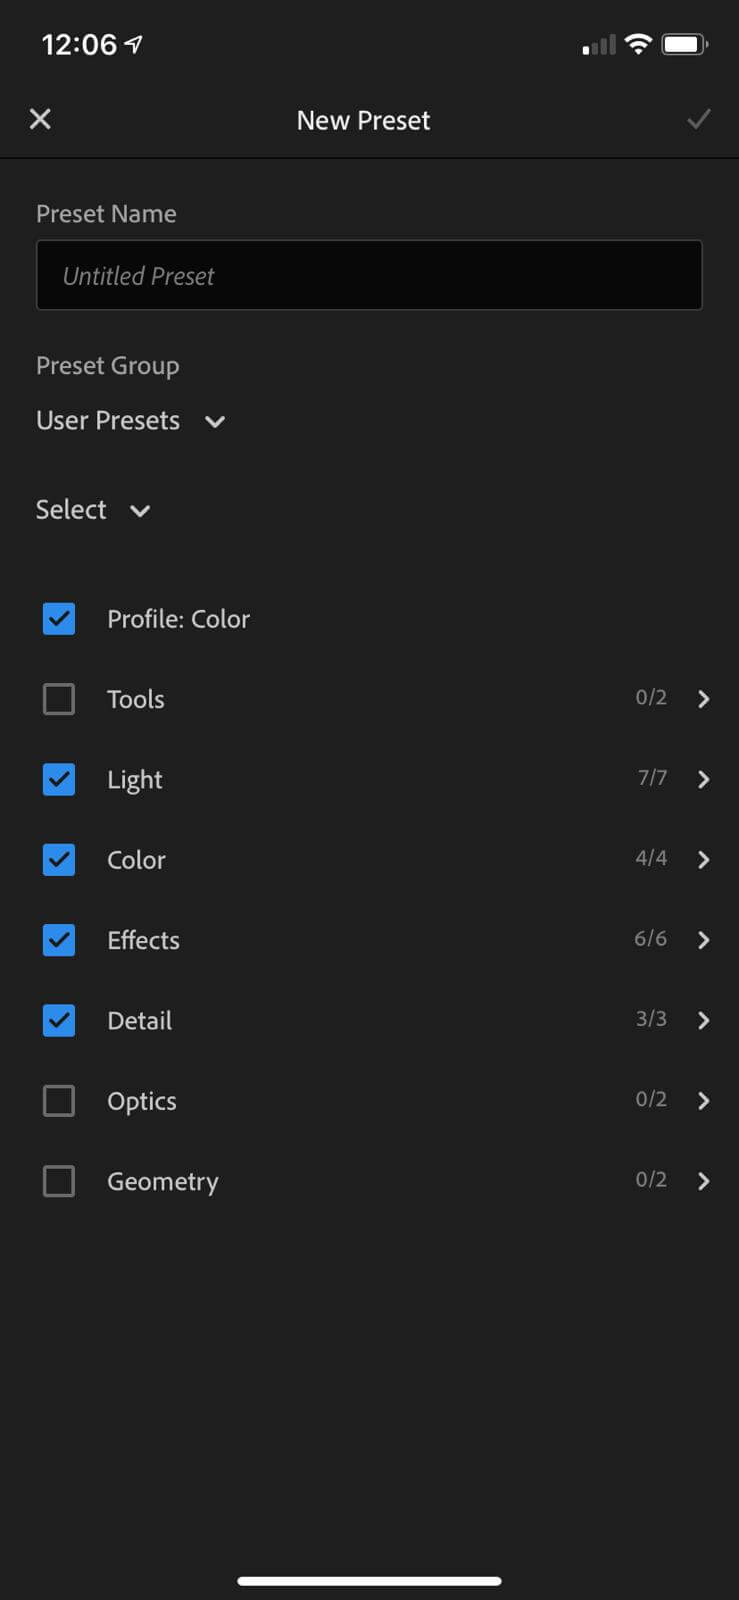
You are then given an option to select the different editing options, do not adjust these as this is where the information is kept to create the preset.
Once you have chosen the name you will need to select the preset group. You can stick to the default user presets, however, to make things simpler we suggest to “Create New Preset Group”.
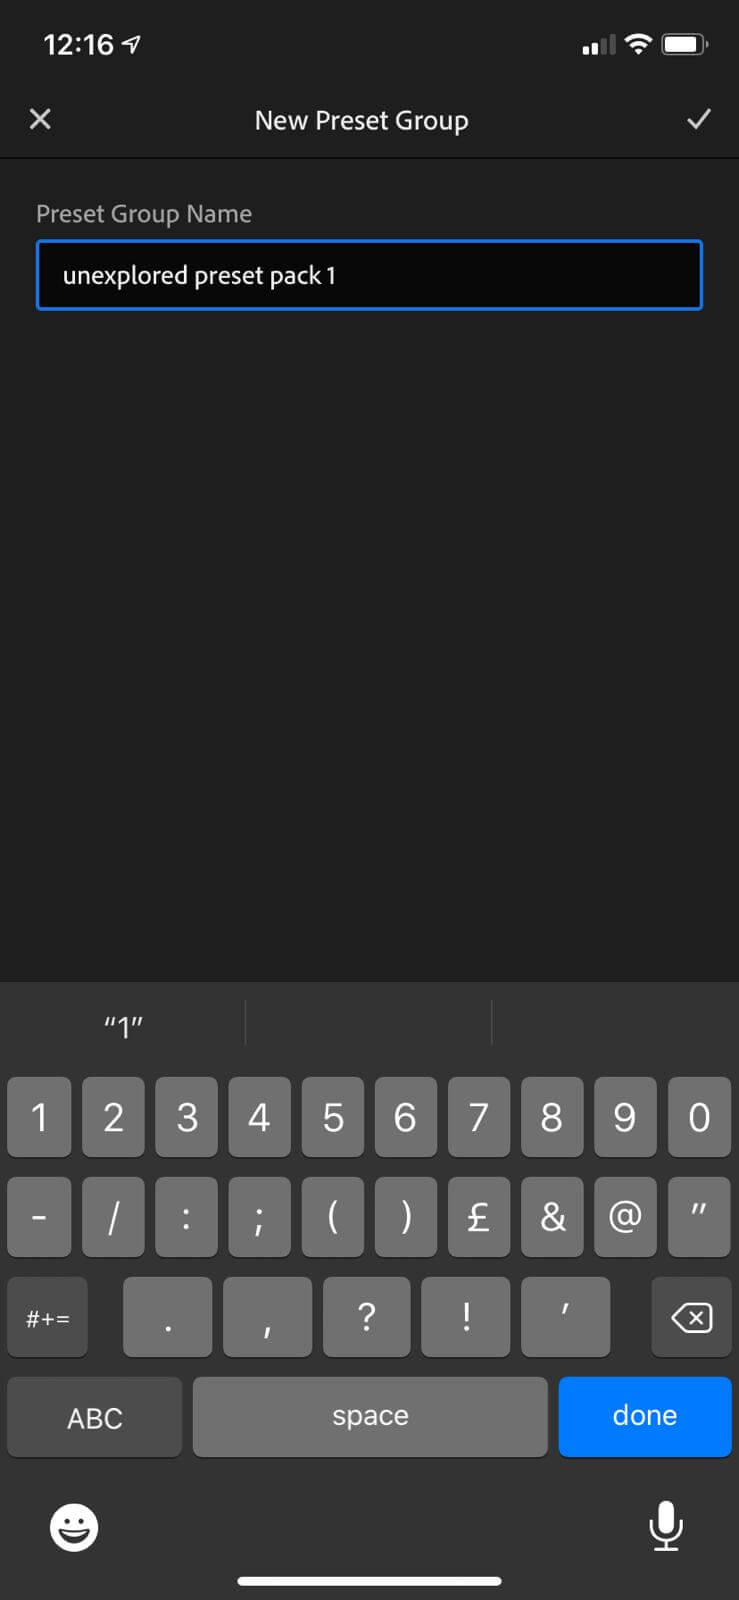
We recommend creating a preset group especially if you have several preset packs. In this case, we are going to call it Unexplored Preset Pack 1.
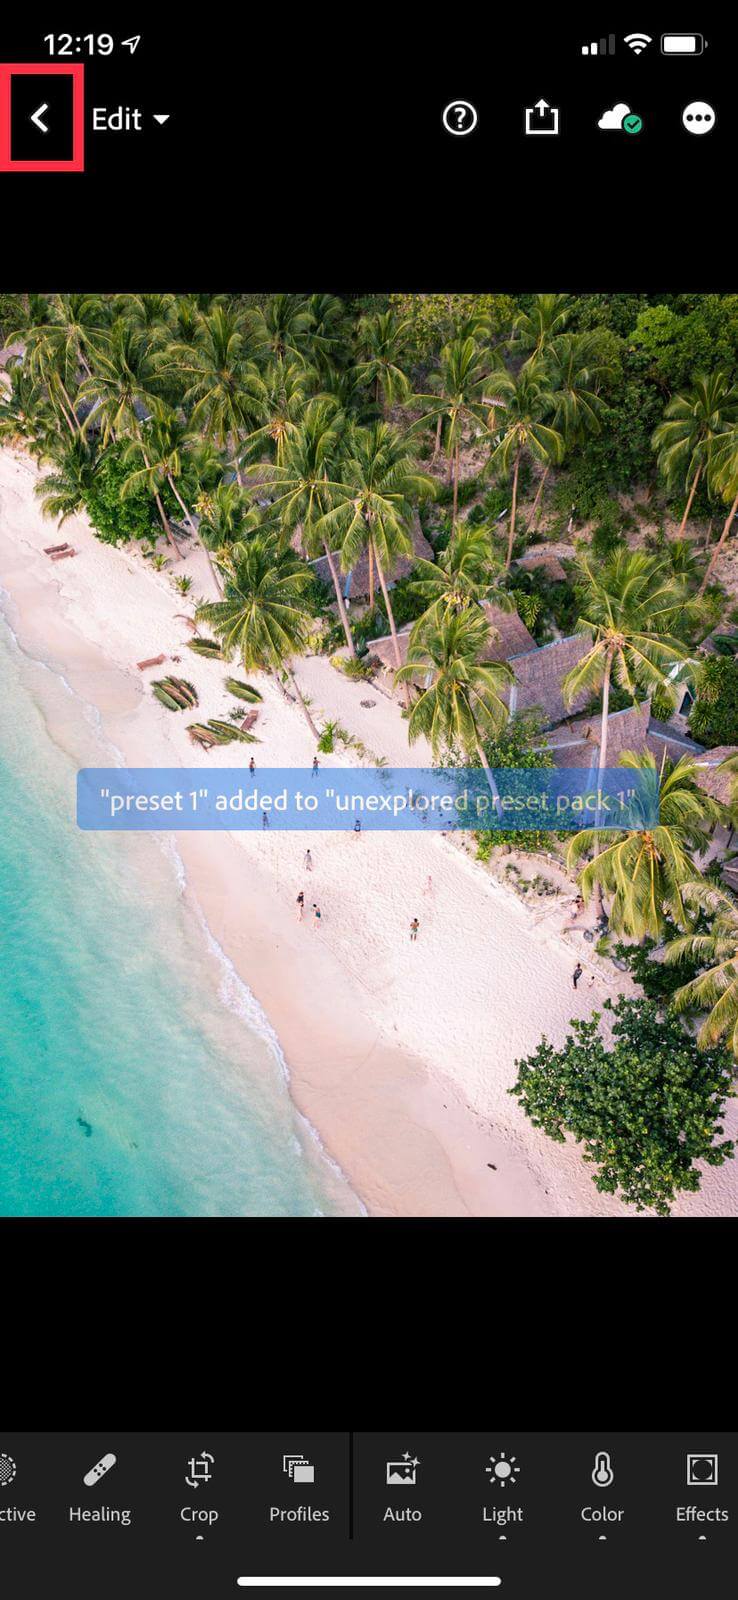
Click on the tick in the top right corner then a notification will come up confirming the preset has been added to your new collection.
Now click back into the album and repeat the process for the remaining DNG files in the album.
Once this is complete all your presets will be saved and you will not have to complete this process again.
How To Use Lightroom Mobile Presets On Your Images
To use your new presets click on the library tab and select an image you would like to edit.
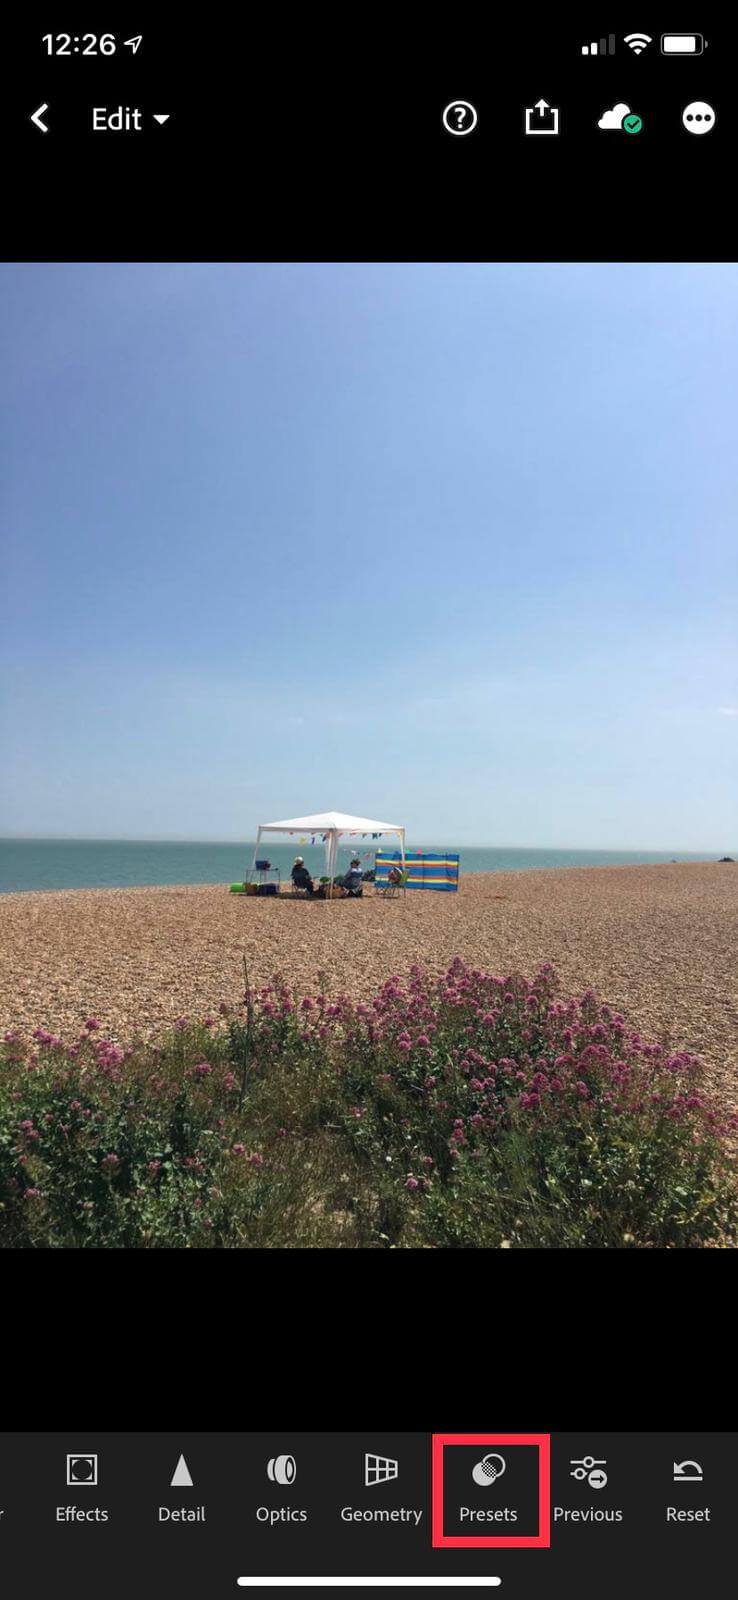
Scroll along the bottom menu until you see the “presets” tab.
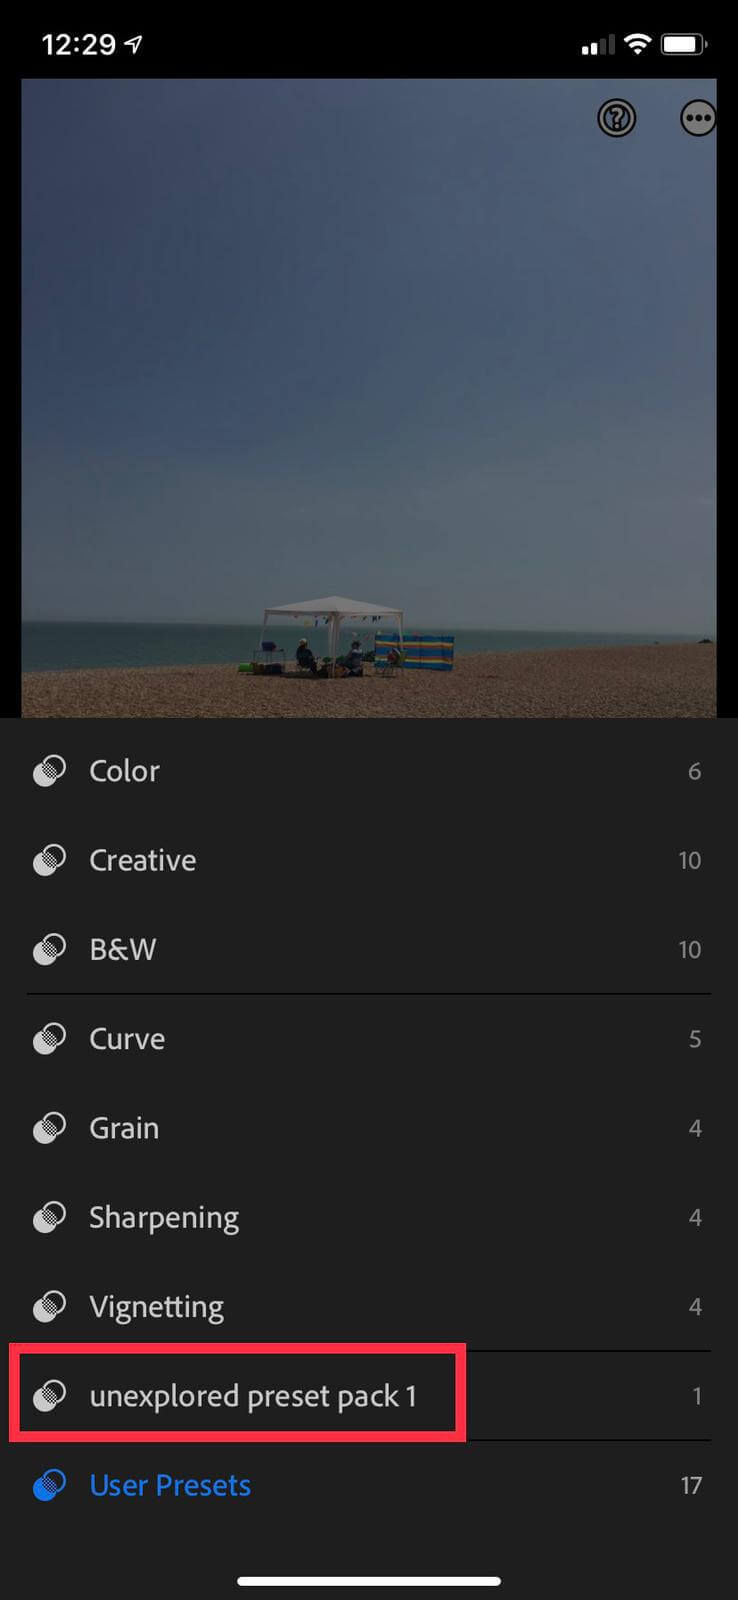
Select presets and you will be given a menu, select the drop-down arrow. Select the Unexplored Presets Pack 1 folder.
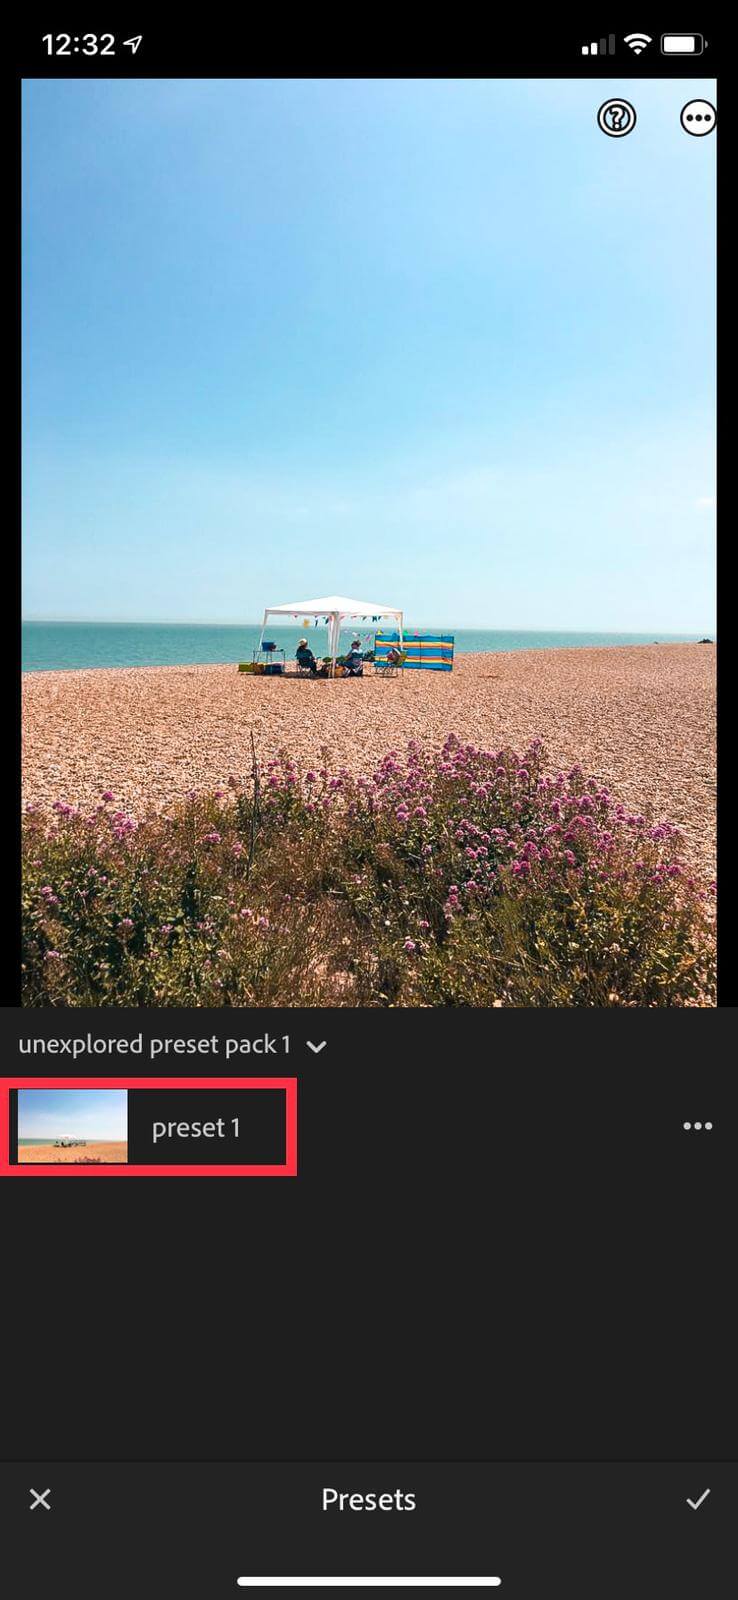
You can now see your newly added presets, click on each one to try a different effect on your image. Once you have selected your favourite preset to apply, you can continue editing the image through the lightroom toolbar at the bottom.
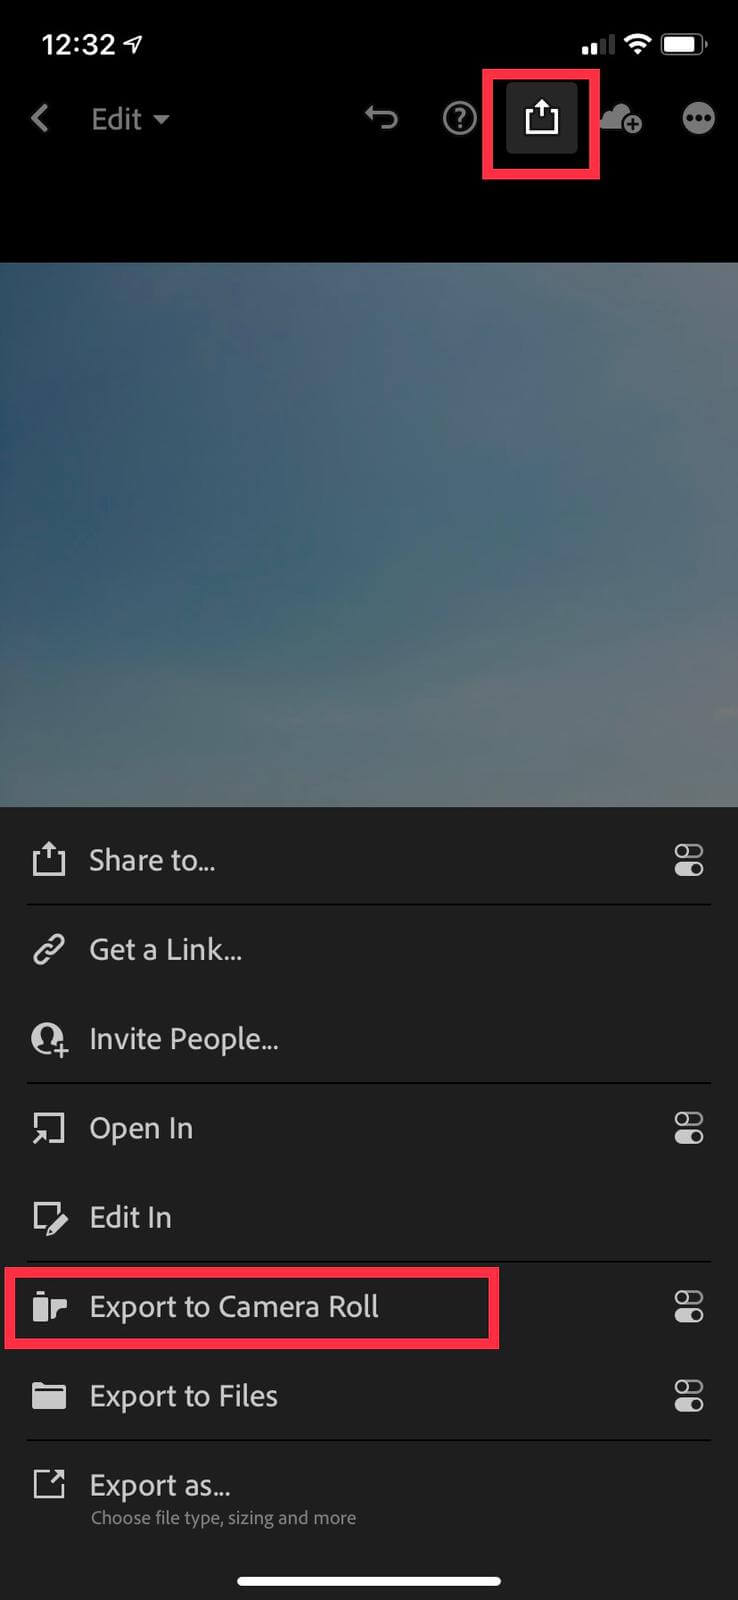
Once you are happy with your image you can export the final product back into your camera roll. Select the square with an arrow pointing up in the top menu bar.
There you have it! You have successfully downloaded and managed to add presets to Lightroom mobile.
As always if you have any issues with the Unexplored Presets, please get in touch by email presets@unexploredfootsteps.com or send us a DM @unexploredpresets
Pin Our How To Add Presets To Lightroom Mobile For Later