
Hey there cool cats and kittens, it’s Milly here and I might be slightly addicted to the Tiger King series. Apart from binging Netflix, I decided I was going to tackle this LockDown head-on, by purchasing an At Home Gel Nail Kit.
Having so much time on my hands, I thought why not take care of my hands, myself? After all, I have spent years watching people do my nails. Ok if I am being honest, half the time in the nail salon I do tend to get lost in the TV which is always playing questionable music videos from the early 2000s.
So after many weeks of practicing, I can certainly say I know how to do gel nails at home. This guide will cover everything from how to use a gel nail kit, to what you need for gel nails.
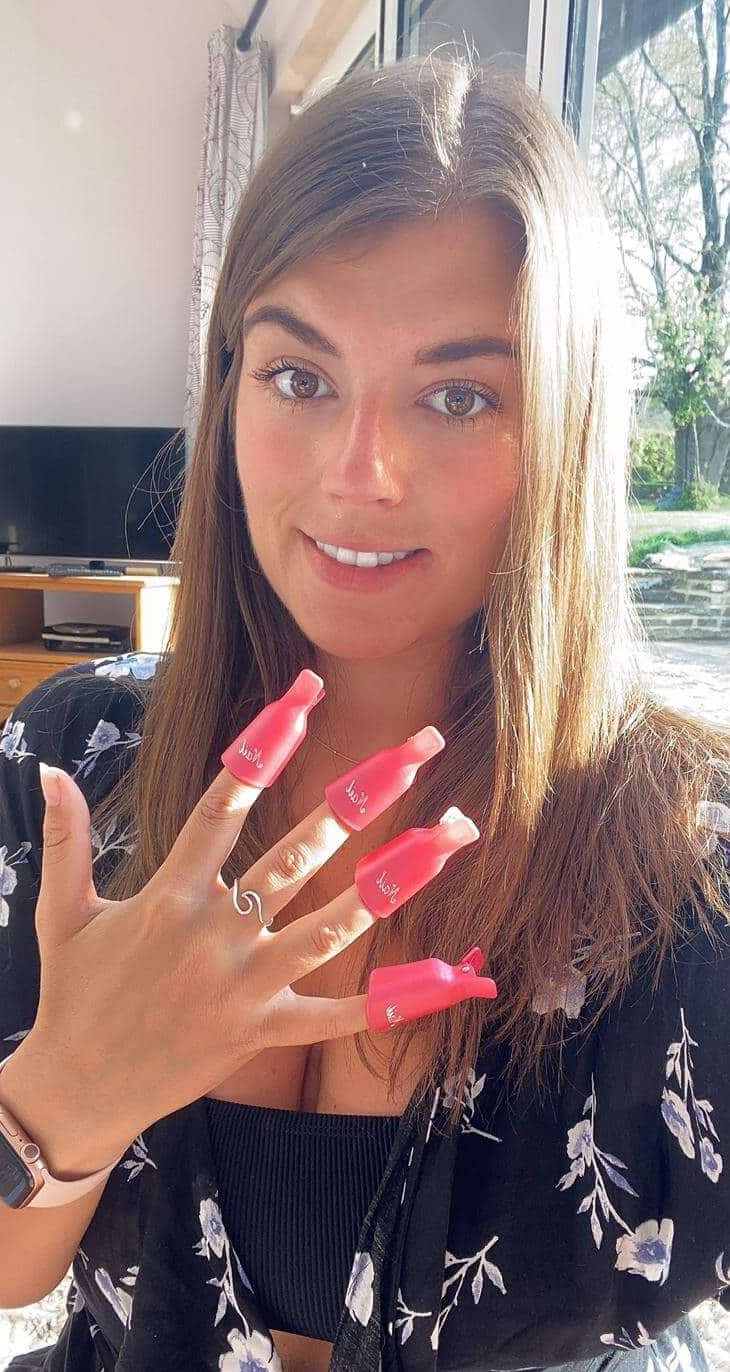
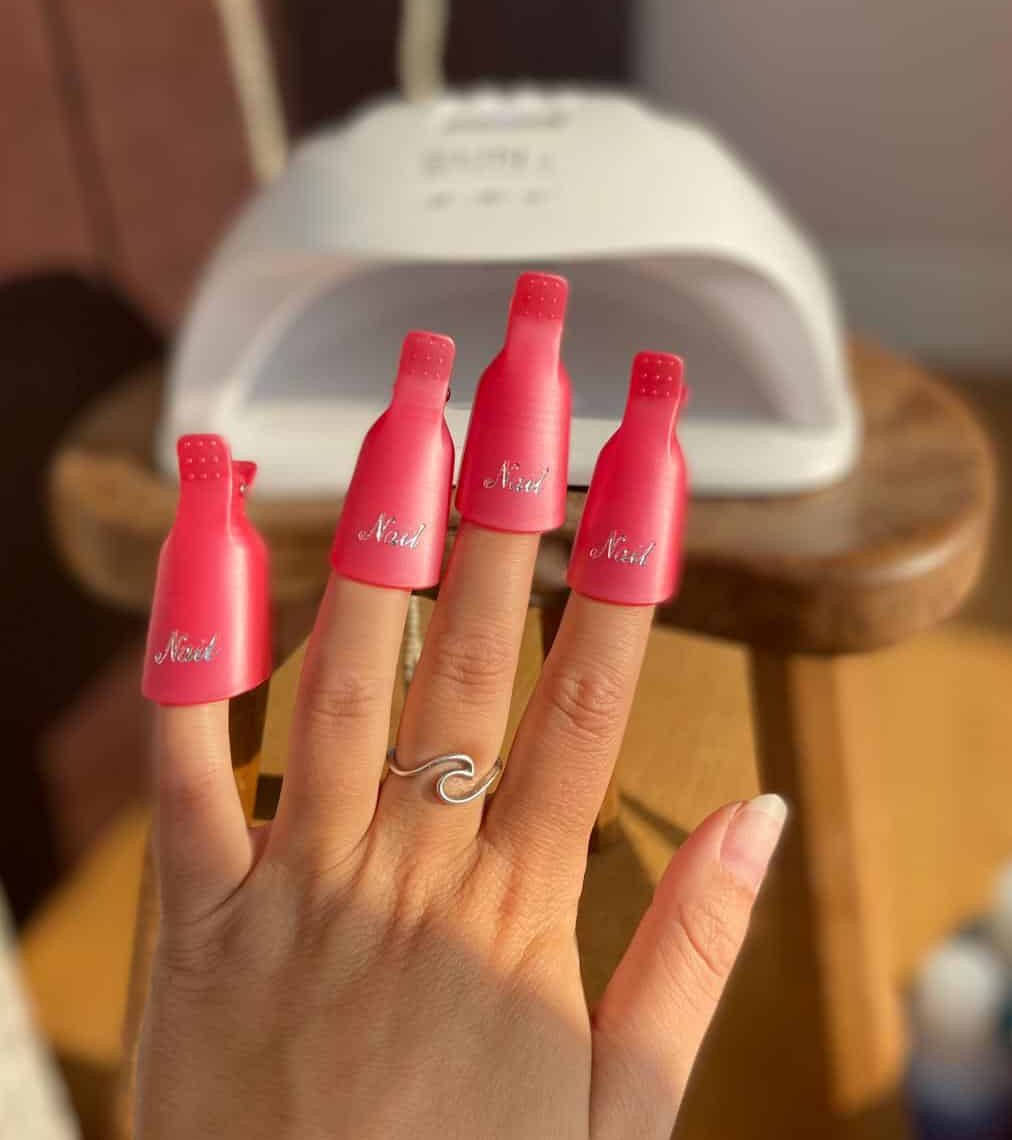
These are nail clips, which you use to soak off previous gel paint
A little disclaimer: I am not a beautician, neither am I trying to be. I just want to save a few bucks and pass some time. After all, I am just a girl, staring at my hands, wondering if they could ever be loved? Full beginner at using a gel nails home kit, but if I can do it, so can you!
This post might contain our affiliate links. This is at no extra cost to you, but you would be doing us a solid if you did use them. It shows us your appreciation after we have written this amazing guide for you 😏*
Best at home gel nail kit 🛒
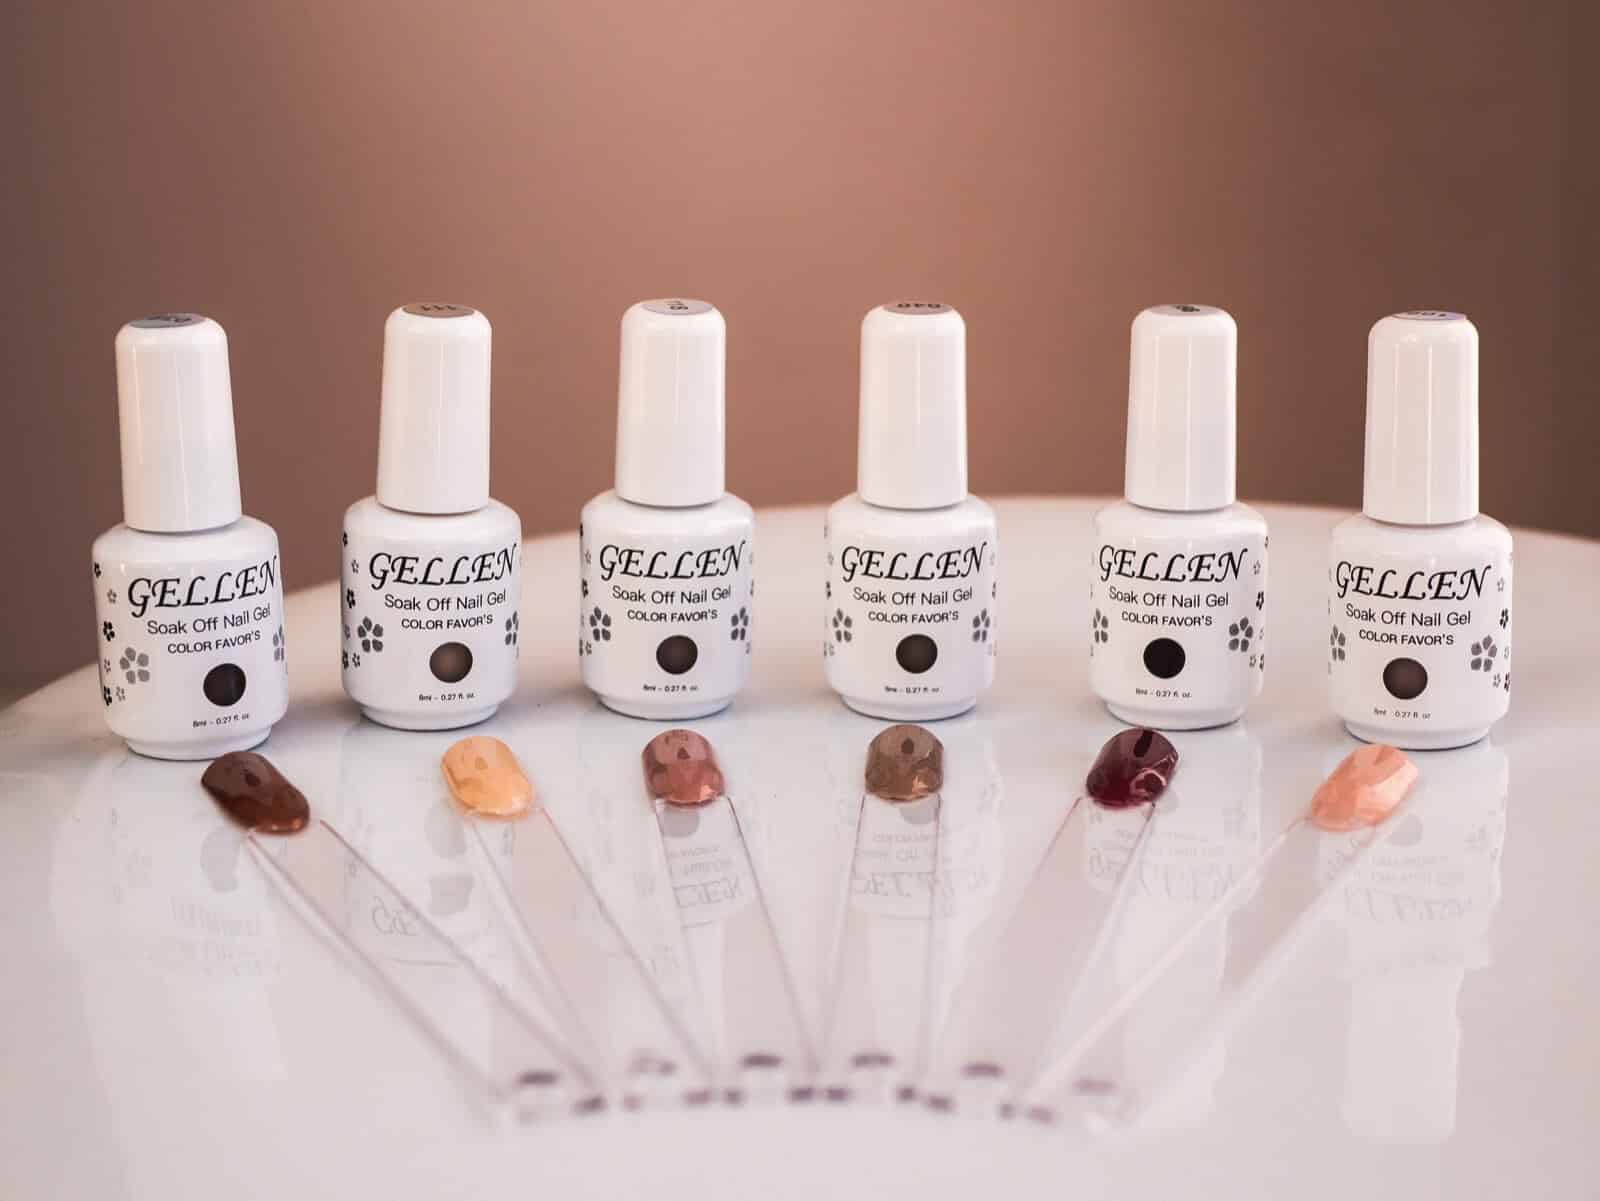
When it comes to choosing the best at home gel nail kit, there are many options. Now I cant say that I have tried them all, but the below products are the ones I used and I am very happy with the results.
What do I need for gel nails at home?
I brought all my items separately as it worked out cheaper with faster delivery. Some items came together such as 1+2 and 3+4. I have linked all the items I purchased, but please bear in mind that I have Amazon Prime when it comes to delivery dates.
- LED Lamp – I was advised by a nail technician to purchase LED rather than UV as it is faster and less damaging.
- Nail Cutter, Nail File, Sponge Nail File, Nail Clean Brush, Cuticle Pusher, Cuticle Fork, Cuticle Nipper, Finger/toe separator, wipes, Nail clips.
- Acetone Gel Remover + Nail Prep/ Polish wipe
- Base Coat Gel polish + Top Coat Gel Polish
- Lint Free Nail Wipes (Cotton is a big no-no)
- Gel Nail Polish
- Cuticle Oil – optional
Get the whole gel nail kit.

These items are all linked above. I have put together a complete list on amazon here.
At home gel nail kit tips 💅🏼
- Keep your Gel Polish layers thin. I have seen a lot of reviews of people saying that some colours are sticky and cheap. Your gel nail polish will not dry if your coats are too thick. Your gel nails will not last as long and can cause bubbling.
- Curing your Gel Nail Polish. When I started researching how to do my own Gel Nails, I came across this term and drew a blank. Curing is the process in which you put your wet nails into the LED/UV Lamp to cure (dry).
- The more prep you do, the better your nails will look
- Longer Lasting Gel Nail Polish– The key to having a Gel Manicure that lasts a long time is, simply turn your edges. Make sure you paint across the tip of your nail at the end, to reduce chipping. Getting paint on your skin will also lead to the paint lift and chip, make sure you keep wiping away any spillage during the painting process.
- Do one hand at a time – We are all beginners guys, let’s not dive straight in here.
- Nail Wraps/Peel off Latex – These can be a messy person’s best friend. Simply wrap them around your nail to avoid painting your skin.
How to prepare your gel nails at home 🧴
If you already have gel paint on your nails, it will be no surprise that you will need to get these off. Using your Sponge Nail File, file the shiny side of your nails. This will make it easier for the acetone to soak into the gel paint and be easier to remove.
To remove Gel Nails, or soak gel nails at home, you will need your acetone, cotton wool, and nail clips. You will need to soak the wool in the acetone, place it on your nail, and pop on the clips to hold it over the paint. The instructions say you need to leave this on for 10-15 minutes.
As I was testing how much acetone to use, it ended up taking much longer than 10 minutes. Make sure you use enough to fully soak the nails.
An alternative to this step is purchasing the Magic Gel Remover. I have seen this widely recommended online and I will be trying it in the future.
Hopefully, your old gel will be ready to peel off. Next step grab the bits and bobs for your DIY manicure. Luckily for you, the linked At Home Gel Nail Kit includes all the bits you will need. Grab your Cuticle Pusher and scrape off the old gel, make sure to get it all. I also used the sponge nail file to file the tricky bits.
Your nails will be rough on top after the last step, so buff them slightly with the sponge nail file to even them out. Here is where you can use your cutter and file to create the shape you want to achieve. Once you have your shape, use the cuticle pusher with the nipper to remove any excess skin.
Optional Purchase- Sally Hansen Instant Cuticle Remover, which dissolves the cuticle rather than you pushing it back and cutting it away.
Home gel nail kits – An important step!👏🏻

Washing your hands is crucial to prep the nail. Now, hopefully, your nail will look fresh as a daisy, but you will need to use a Lint-Free Wipe + your Nail Prep Solution and rub each nail. This will remove all excess oils and dirt, so your gel will last longer.
Painting gel nails at home 🎨
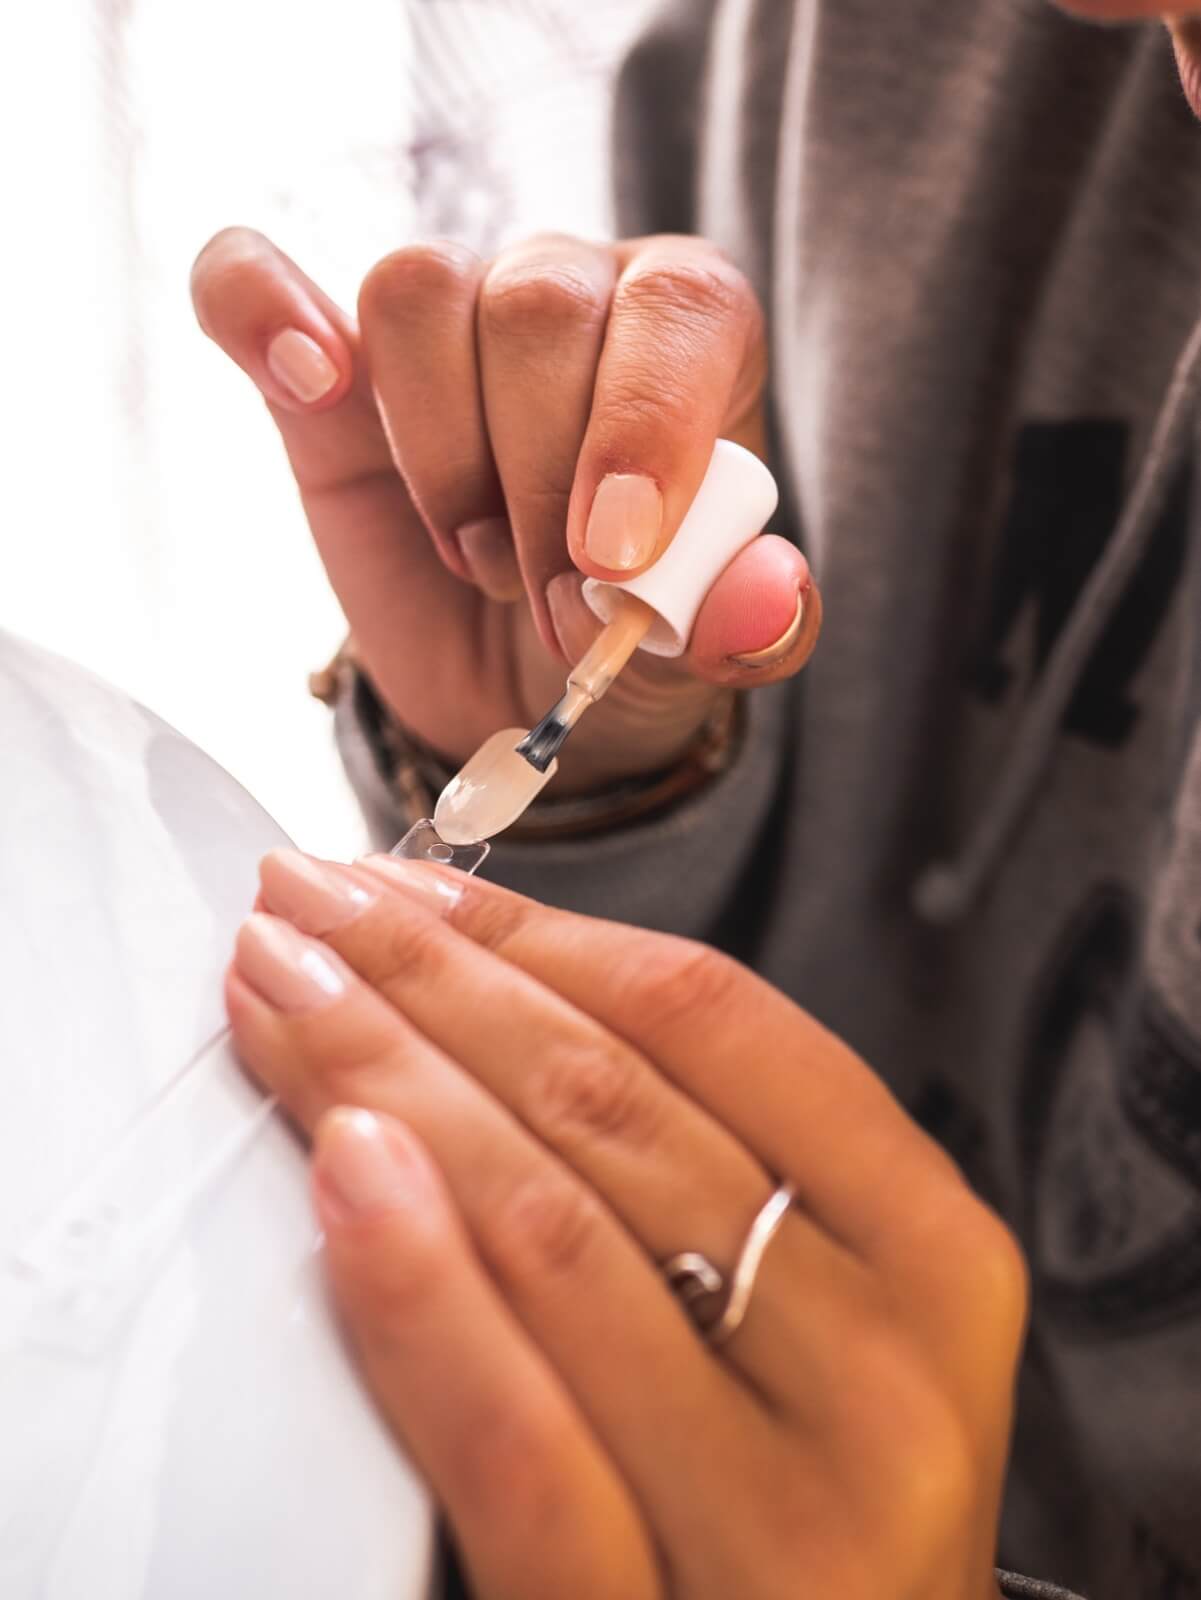
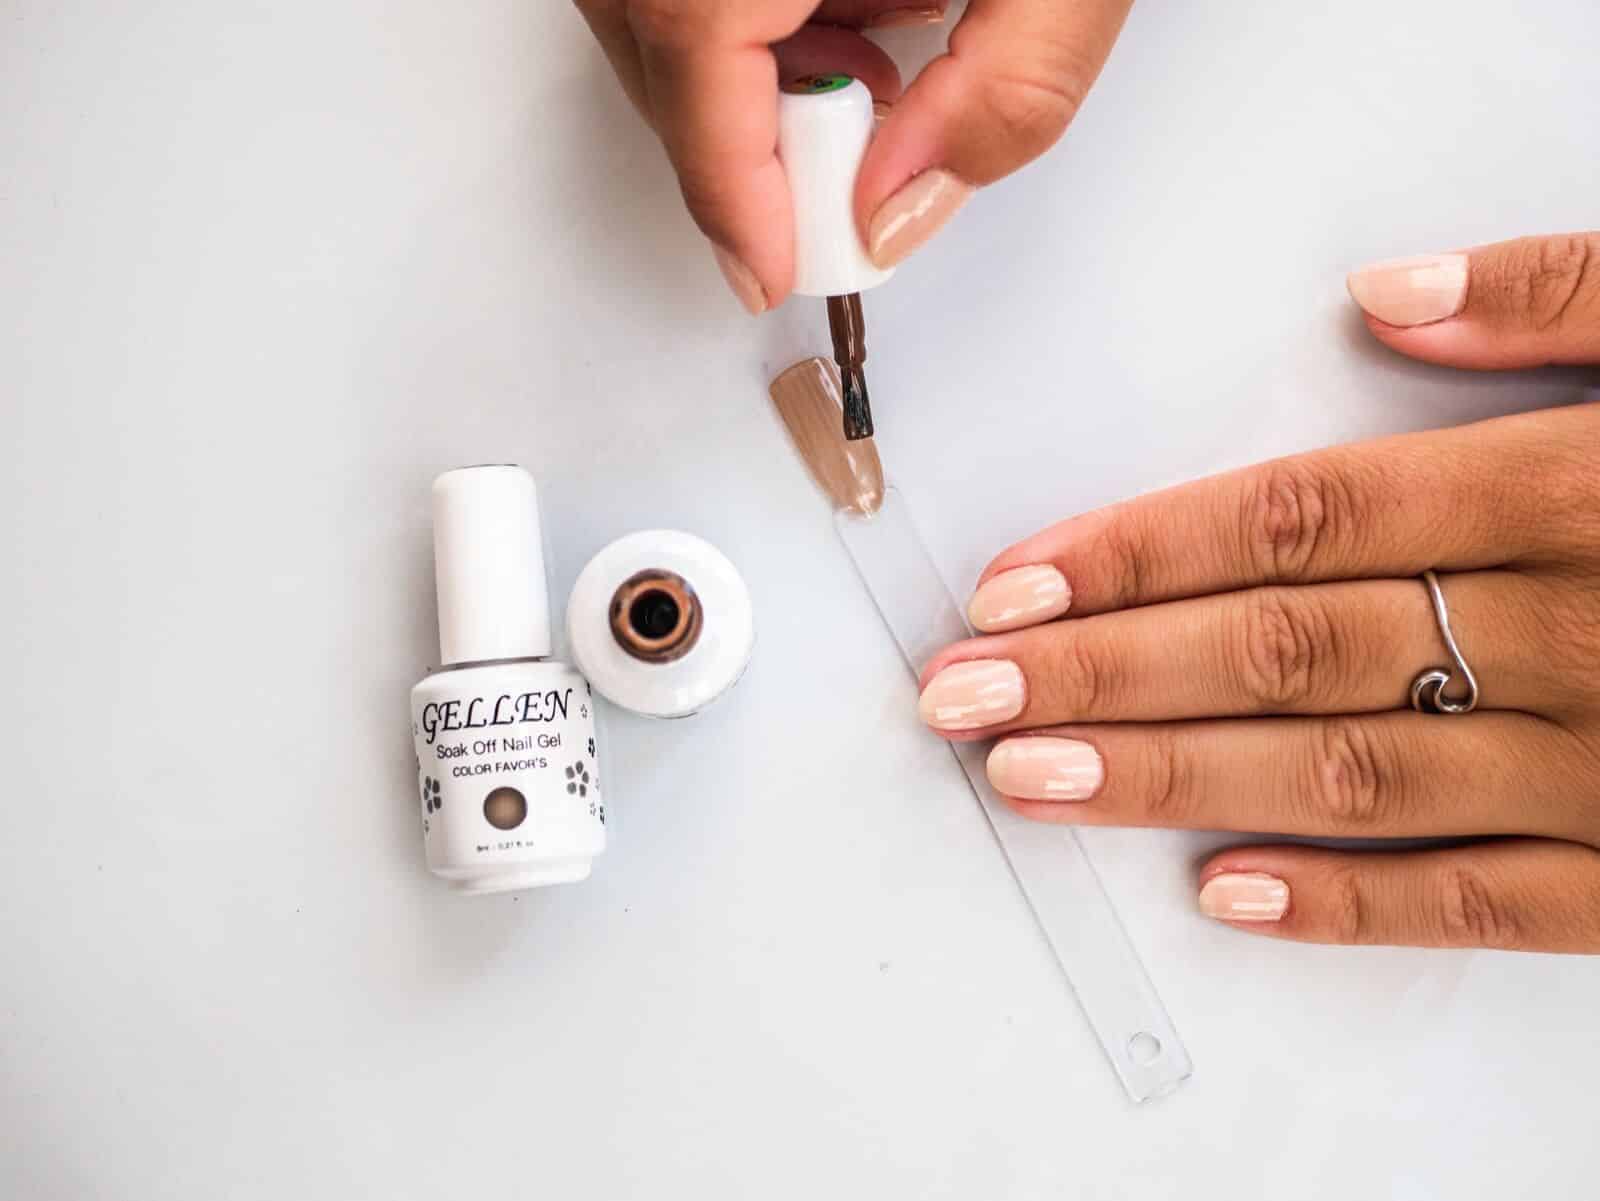
Now it is time to paint. Apply a thin layer of your foundation coat. You need to keep each layer thin to reduce the chance of bubbles within the paint. Once you have done your whole hand, you need to cure the paint.
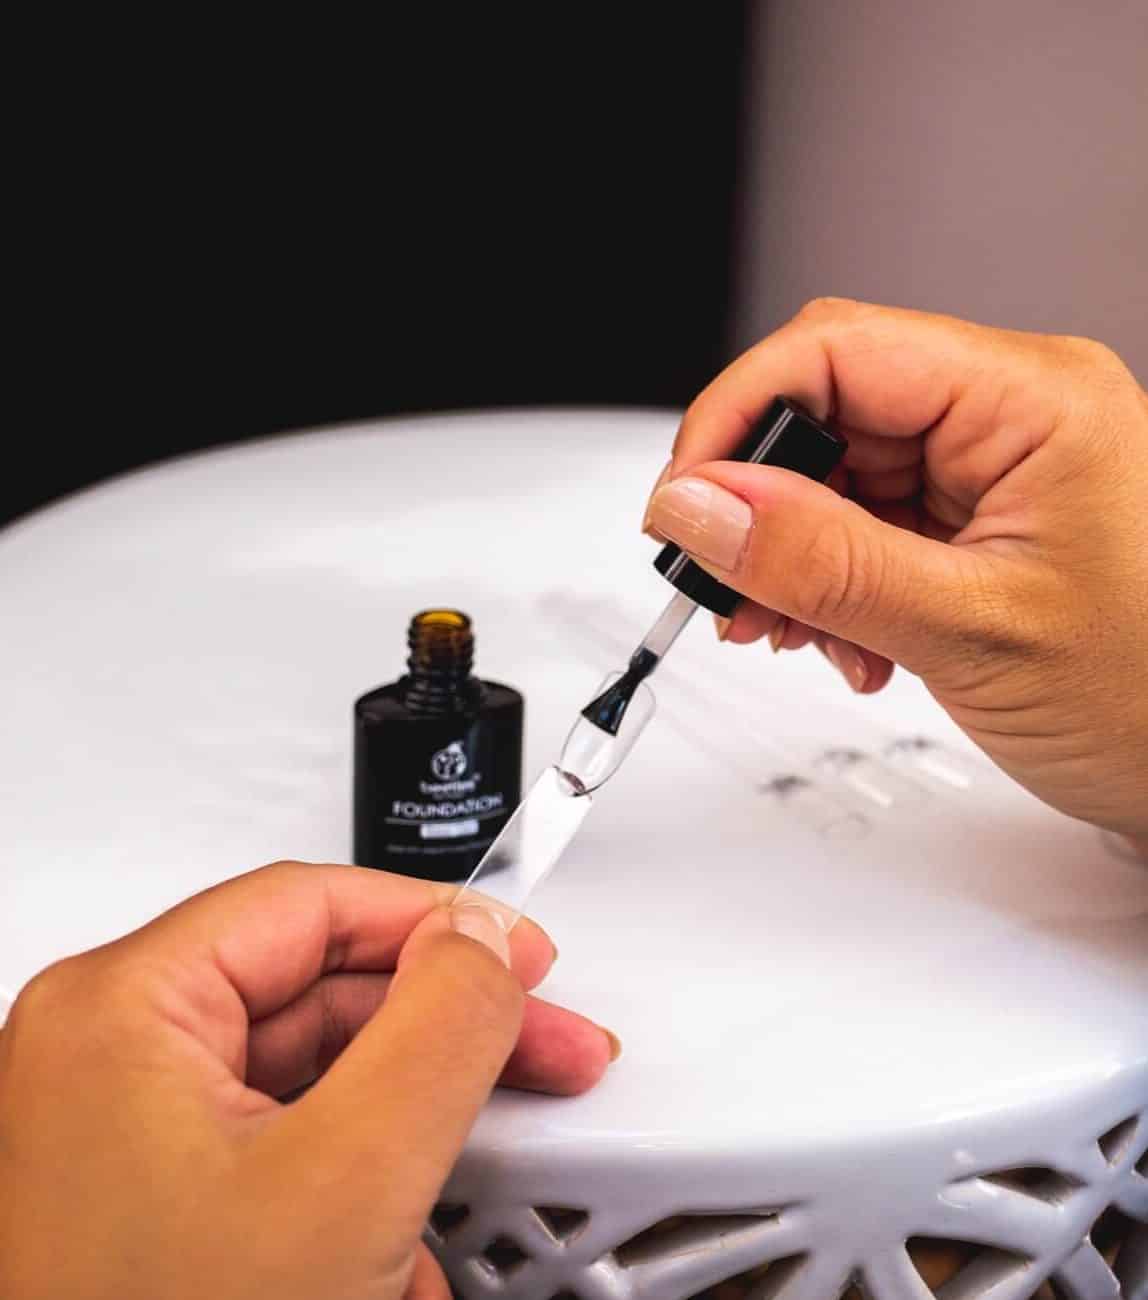
Foundation Layer on my Nail Colour Swatches
Gel Paint will not dry on its own. It will remain sticky unless cured. To cure the paint, you need to place your hand inside your LED/UV Lamp. The recommended time to cure each coach is 60-90 seconds. If you take your hand out, and it is still slightly sticky, I would put it back in for 10s.

Now you can paint your first coat of colour Gel nail polish. Remember to keep each coat thin, curing for 60-90 seconds each coat. I apply 3/4 coats depending on the colour I am using.
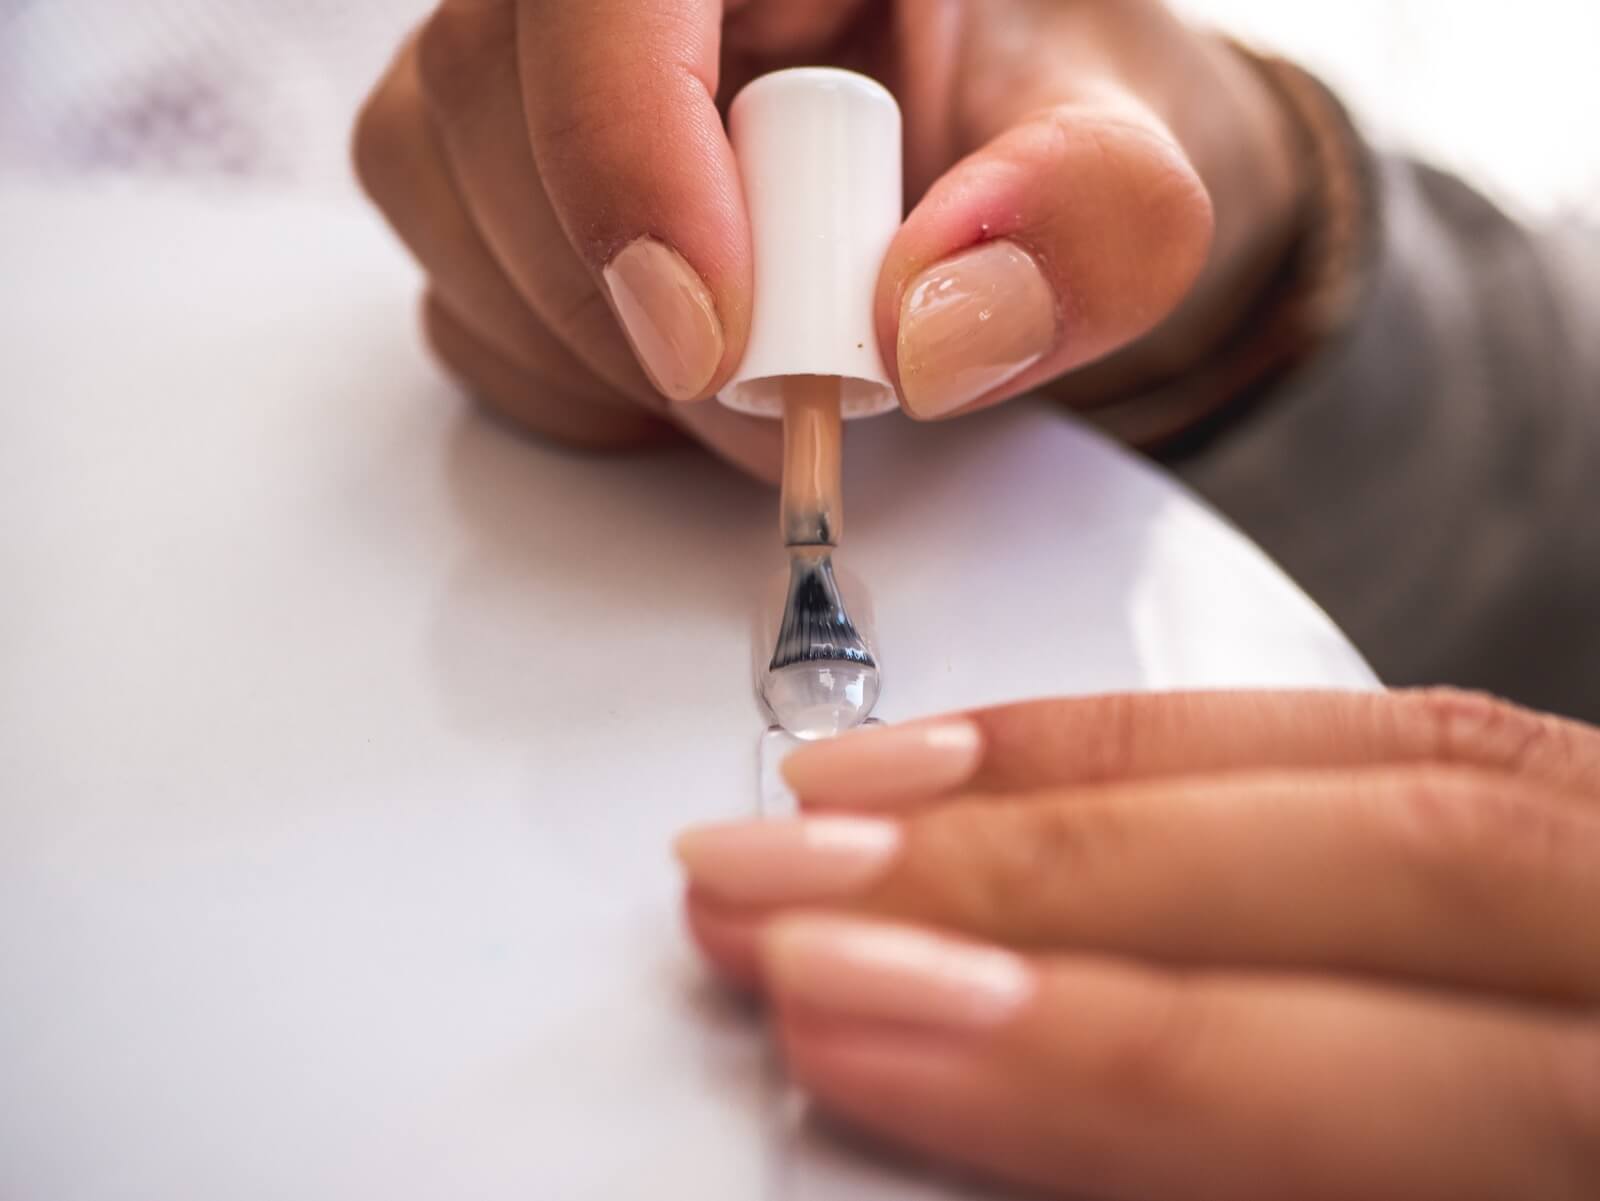
Once you have finished painting your coats, you will then need to use the top coat gel nail polish. This is the only coat that can be slightly thicker and then cured. If you want a lasting gel manicure, remember to turn your edges.
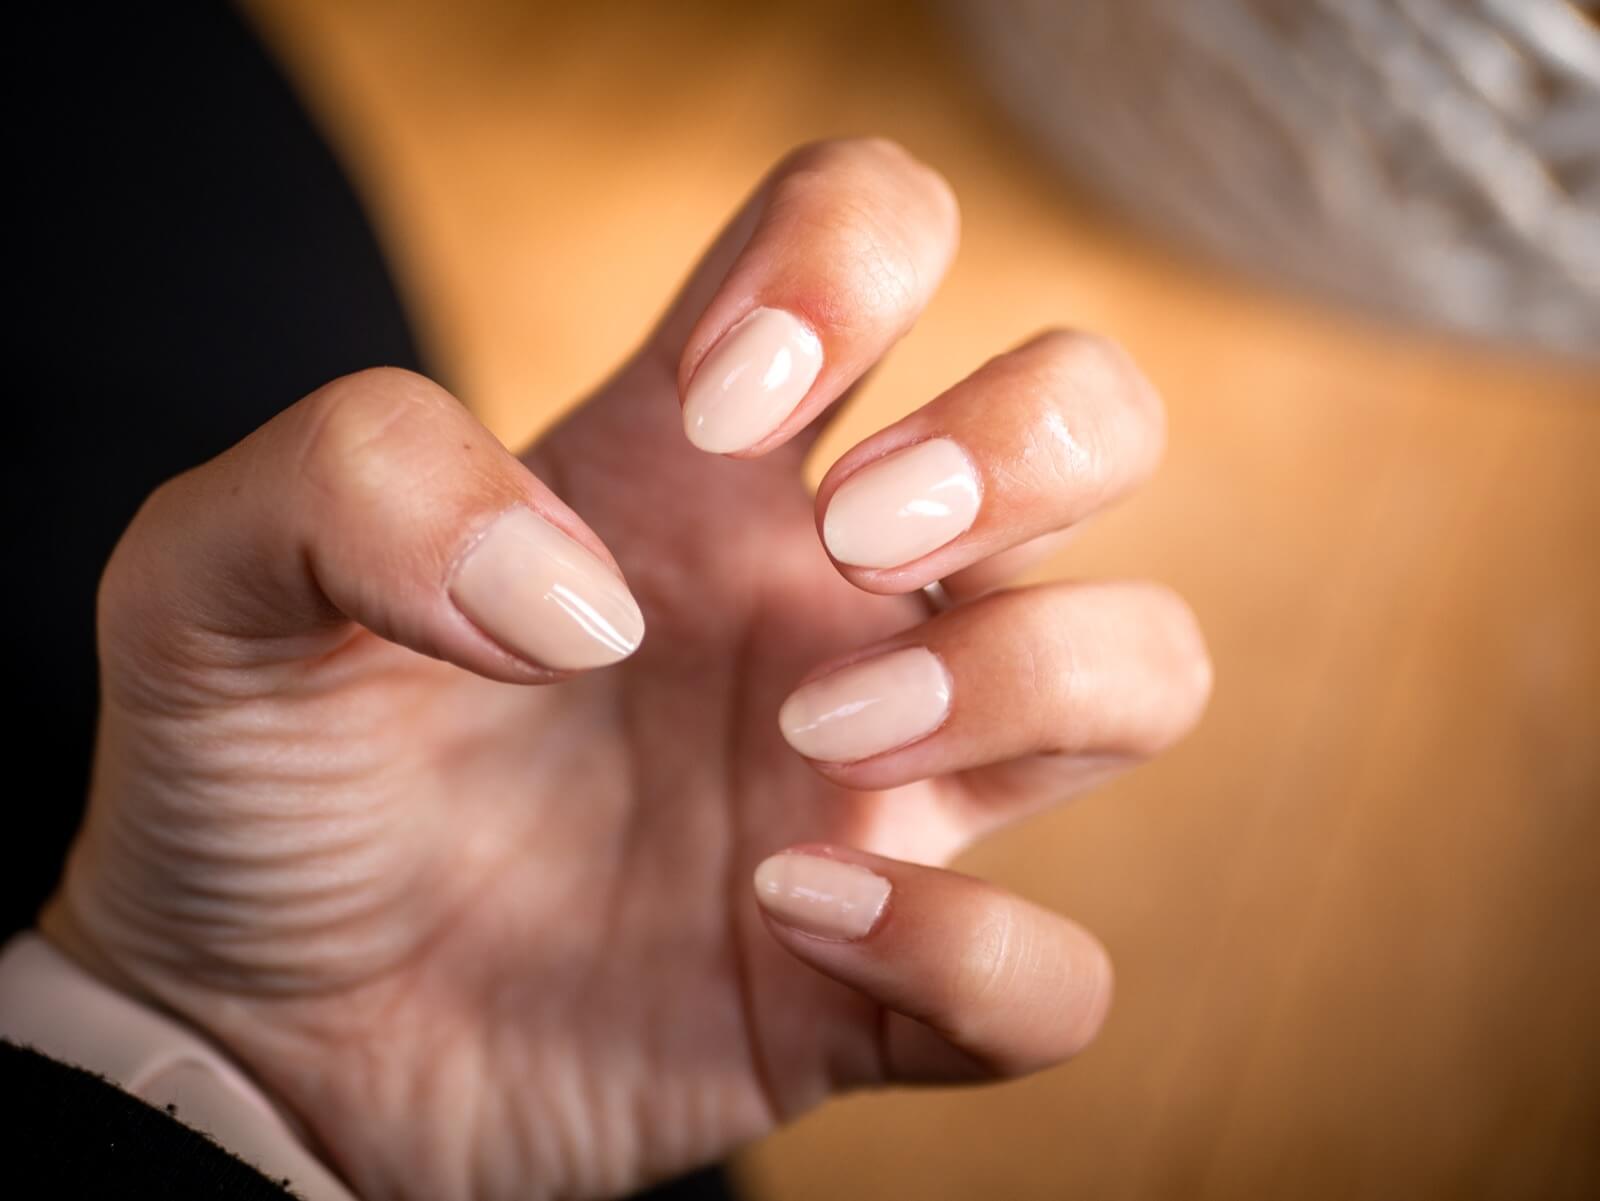
Finally, grab a lint-free wipe and your prep solution and rub your nails one last time. I like to use a cuticle oil right at the end to keep them hydrated.
I could be a Hand Model right?
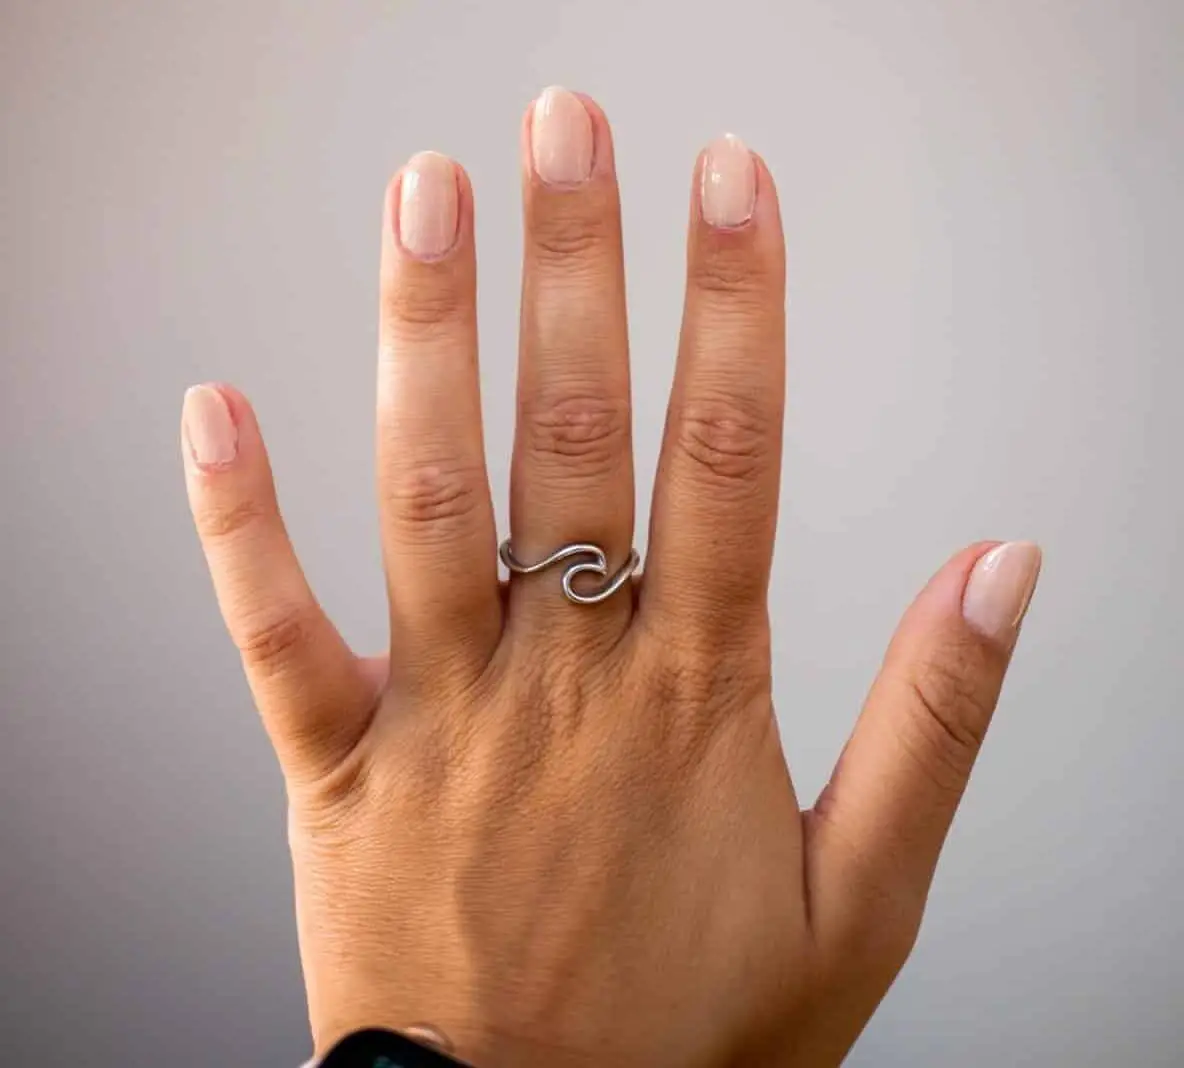
And that is it folks, my mini-guide on how to use a DIY gel nail kit. This is all my own personal preference of items and techniques, but I spent 2 days researching everything I needed along with the techniques.
Pin our at home gel nail kit guider for later
")
 (1)")
What Camera Gear Do We Use
- Main Camera: Panasonic G80
- Go To Lens: Panasonic 12-60mm
- Tripod: Manfrotto Adventure Tripod
- Camera Bag: Manfrotto Backpack
- Underwater Camera: GoPro Hero 8
- Drone: DJI Mavic Pro 2
- Power Bank: Anker Power Bank
- Hardrive: WD 1TB hard drive


Cant believe you didn’t do: How to keep the olds happy: playing dobble, jigsaws, building firepits, making raised beds, working on a Riley
Author
😂😂next one can be called ‘10 reasons you should dance in your pants ‘